How to Layer a Bed: 9 Easy Designer Tricks
The holidays are creeping up and family is about to show up at your door. You already know what that means. Every corner of your house suddenly needs to look like it belongs in a magazine, and yeah, that includes the bedrooms.
Most people just toss a comforter on the bed and call it a day. It looks fine, but it never has that “wait, did you hire a designer” effect. That’s because a plain comforter is missing the layers that actually make a bed look pulled together.
If you want to know how to layer a bed the way a designer would, it comes down to a simple system you build one layer at a time. Once you get the order down, you’ll never go back to the one blanket toss again. Here’s your table of contents so you can jump to whatever step you need:
- Start With a Supportive Mattress
- Protect It With a Mattress Protector
- Get Fitted Sheets That Actually Fit
- Add a Flat Sheet for Extra Comfort
- Layer On a Cozy Quilt or Light Blanket
- Add a Fluffy Duvet
- Stack Your Sleep Pillows and Euro Shams
- Add Decorative Pillows for Personality
- Finish With a Throw Blanket
Why Bother to Layer a Bed at All
Learning how to layer a bed isn’t just about making it pretty for guests. Each layer actually does a job, whether that’s warmth, comfort, or just giving your eyes something nice to land on. Once you have the system down, you can swap pieces in and out for every season without buying a whole new bedding set.
1. Start With a Supportive Mattress
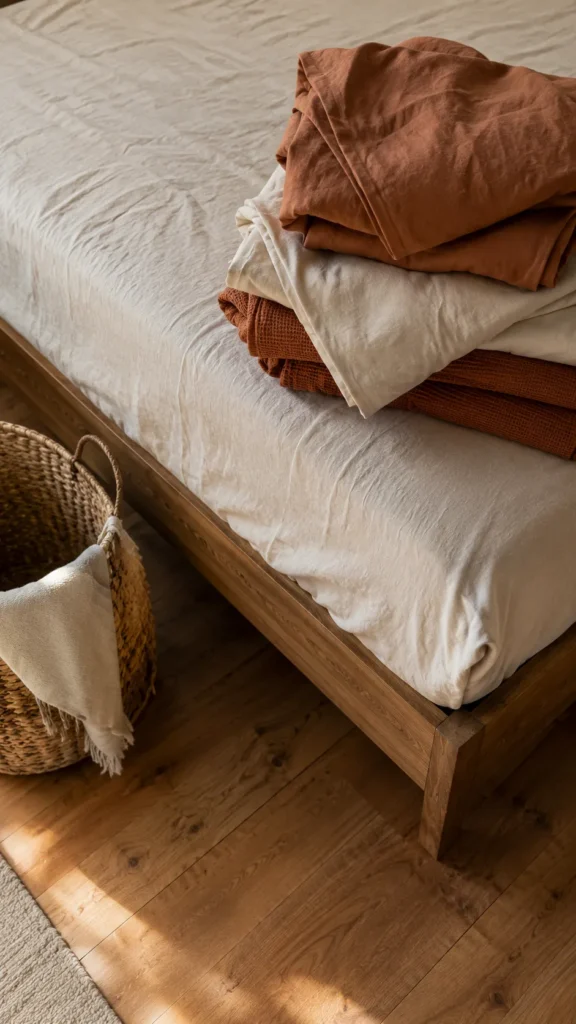
Your mattress is the base of everything, so this isn’t the spot to cut corners. A worn out mattress will make every layer on top of it look lumpy no matter how nice your sheets are. If yours is more than seven or eight years old, it’s honestly worth shopping around for something supportive with a bit of give to it.
2. Protect It With a Mattress Protector
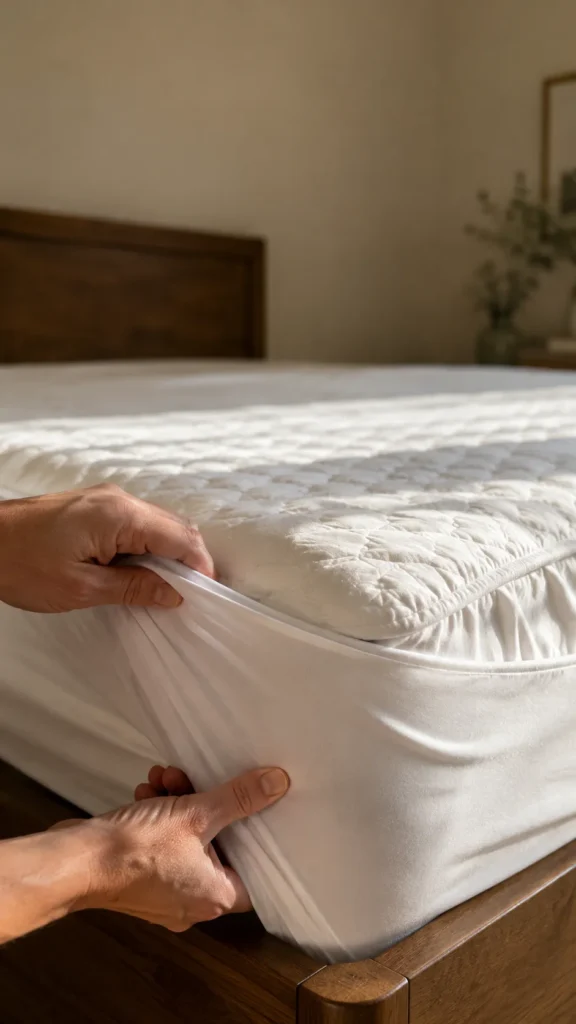
A mattress protector is one of those boring purchases that saves you big time later. It keeps spills, sweat, and general life from soaking into your mattress. Go for one that’s soft and breathable so you don’t end up with that crinkly plastic sound every time you move.
3. Get Fitted Sheets That Actually Fit
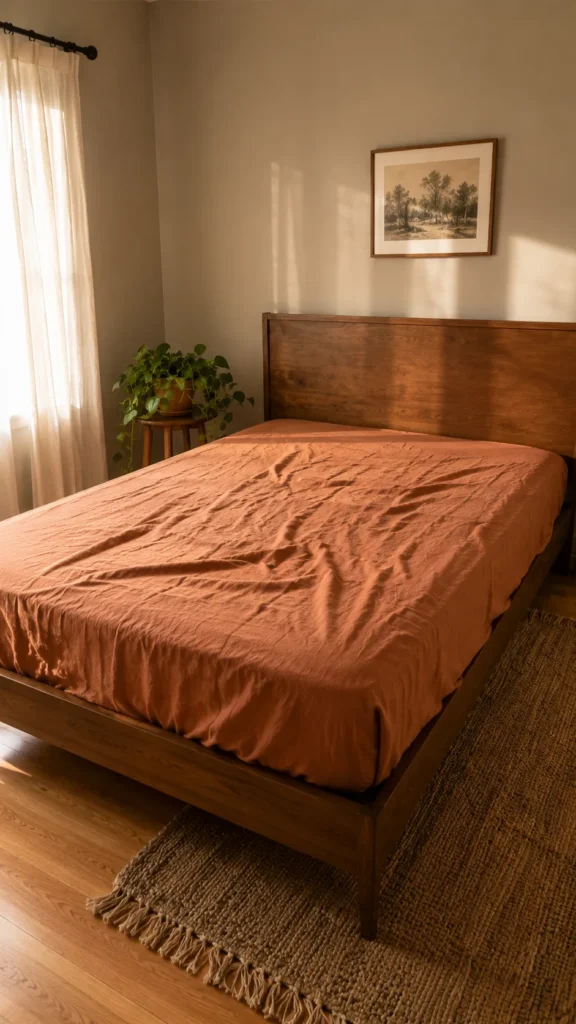
This step trips people up more than you’d think. A fitted sheet that’s too small pops off the corners by morning, and one that’s too big bunches up under you. Linen sheets in a soft neutral color are lowkey the move here since they’re breathable and only get better with washing.
Check the pocket depth against your mattress before you buy, especially if you have a pillow top. Rotate your fitted sheets every so often too, since they wear out faster than the rest of your bedding.
4. Add a Flat Sheet for Extra Comfort
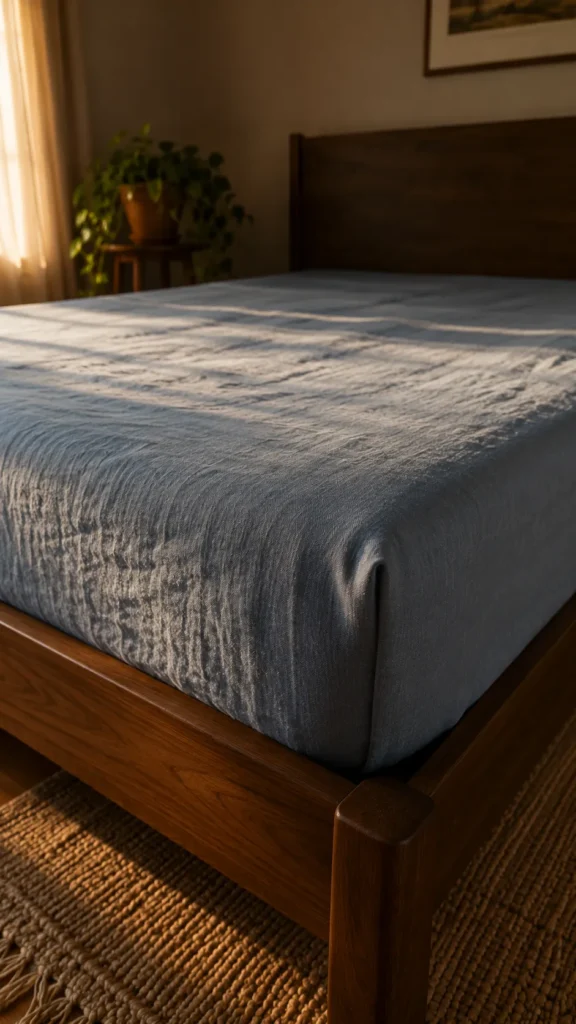
The flat sheet sits right on top of your fitted sheet and gives you a soft barrier before the heavier layers come in. It keeps things breathable and adds a hotel feeling the second you slide in. Tuck it in neatly at the foot of the bed and leave the sides loose for now, you’ll deal with those later.
5. Layer On a Cozy Quilt or Light Blanket
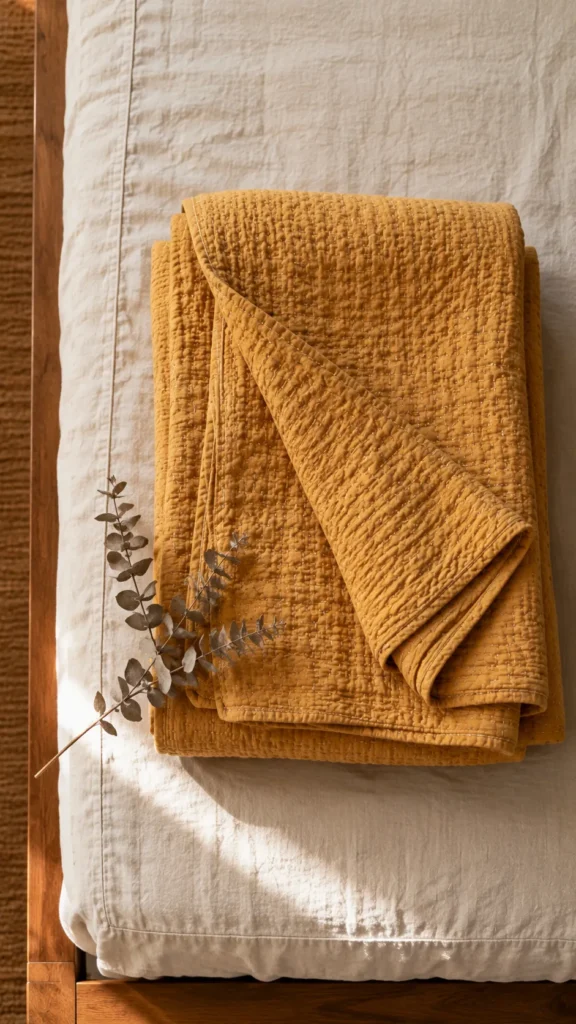
This is where you start building actual texture into your bed. A lightweight quilt or cotton blanket works for most of the year and gives you something to fold at the foot of the bed for that layered look. When it gets colder, swap in something thicker with a little pattern or color to break up the neutrals.
Folding it in thirds at the foot of the bed instead of tucking it away lets people see the layers underneath. That little detail is honestly what makes a bed look intentional instead of just made.
6. Add a Fluffy Duvet
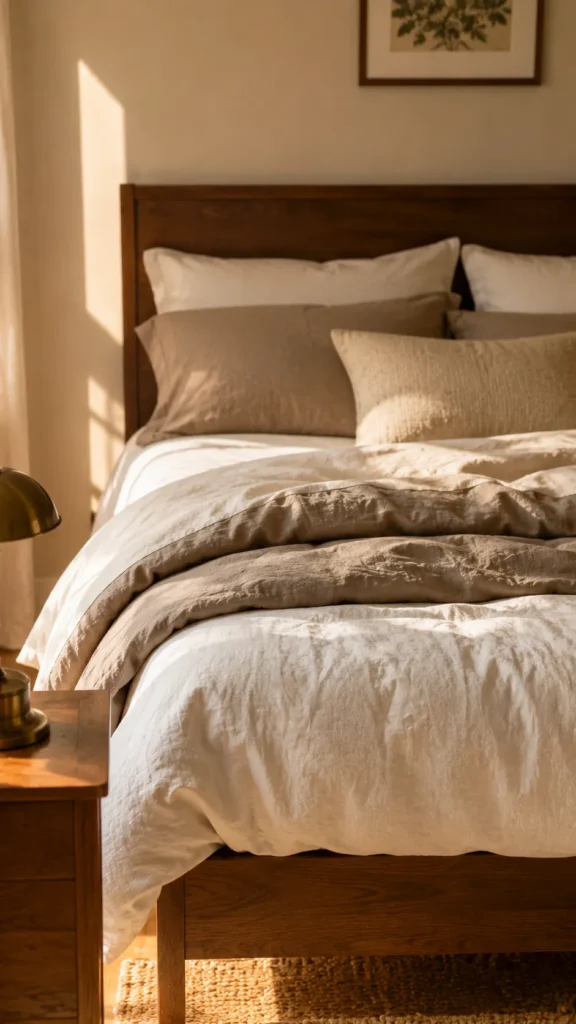
The duvet is what pushes your bed from “made” to genuinely inviting. A plush insert inside a linen or cotton duvet cover gives you that sink in and don’t want to leave feeling. Fold it in thirds at the foot of the bed so the layers underneath still peek through.
7. Stack Your Sleep Pillows and Euro Shams
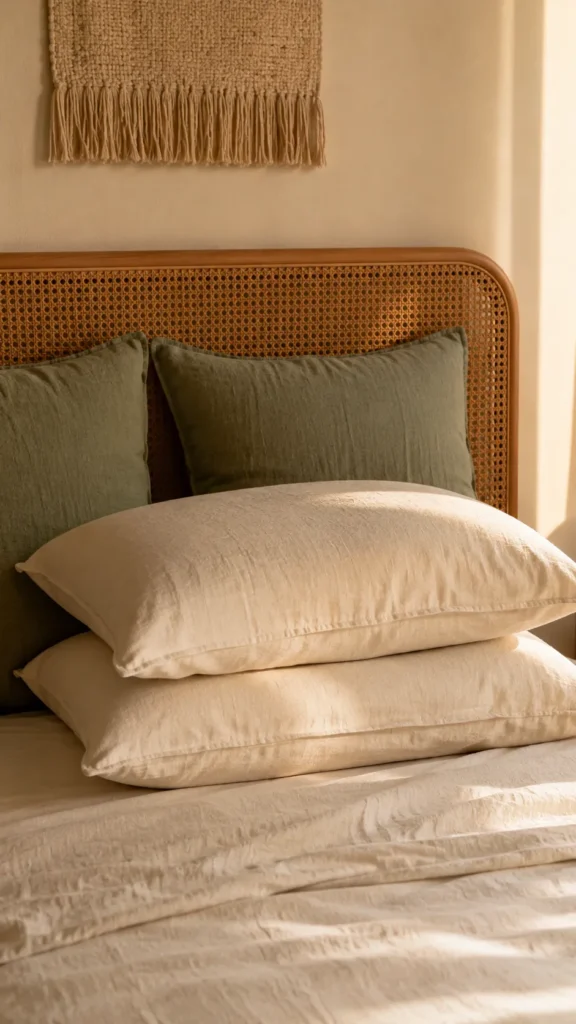
Each side of the bed gets two sleeping pillows stacked on top of each other in breathable cotton cases. Behind those, lean two Euro shams for a queen bed or three for a king against the headboard. Mixing tones here, like a warm terracotta sham with a cream pillowcase, keeps things from looking flat.
8. Add Decorative Pillows for Personality
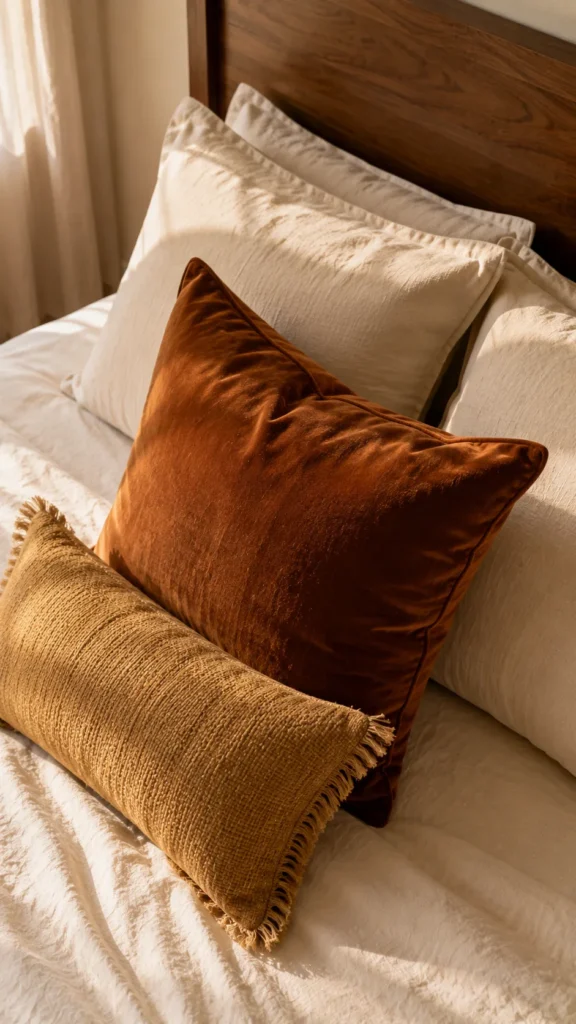
This is the fun part where your bed actually starts to look like yours. Toss on one or two smaller pillows in a bold color or texture, like a rust colored velvet or a mustard woven throw pillow. It’s a small move but it kinda slaps when it comes to making the bed feel finished.
9. Finish With a Throw Blanket
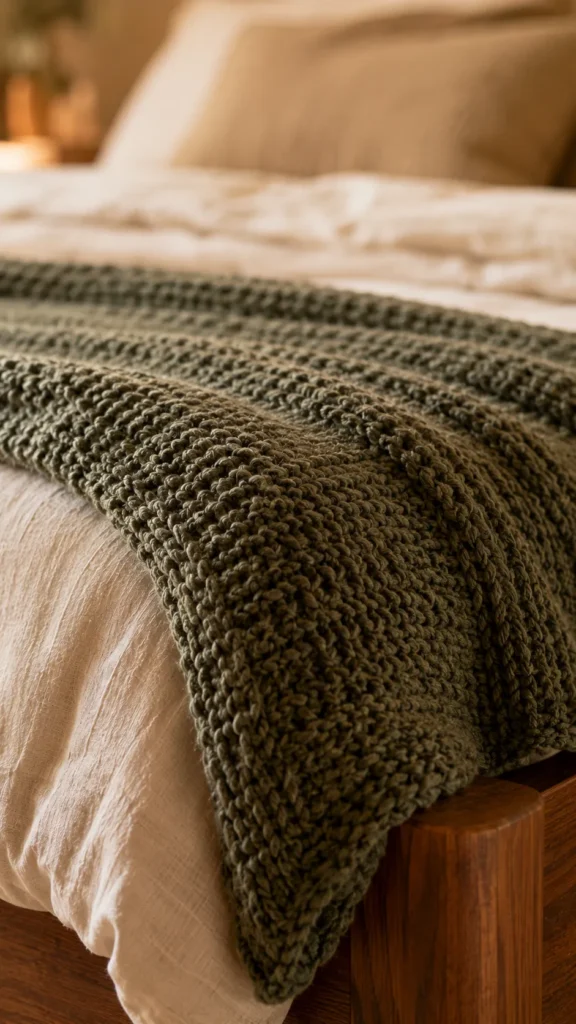
The last step when you layer a bed is a throw blanket casually draped across the foot. Go for a chunky knit in a deep sage or navy tone instead of another white or cream piece, since that’s what gives the bed real depth. You can drape it loose or fold it neatly, either way it pulls the whole look together. 🧺
Quick Tips for Layering a Bed Like a Designer
Once you’ve got your basic layers down, a few small habits keep your bed looking sharp all year.
Mix your textures. Pair smooth linen sheets with a chunky knit blanket and a velvet pillow so the bed has real depth instead of feeling flat.
Lean into color, not just neutrals. A base of warm white or oatmeal is great, but don’t be afraid to bring in deep green, rust, or dusty blue through your pillows and throw.
Layer with a purpose. Every piece should do something, whether that’s warmth, texture, or just giving your eyes a place to rest.
Stick to odd numbers for pillows. Three Euro shams for a king or two for a queen, plus a couple of smaller pillows, tends to look more natural than an even stack.
Let it look a little undone. A slightly uneven duvet edge or a loosely draped throw reads as lived in, not messy. That’s honestly the whole secret to why designer beds never look stiff.
Once you know how to layer a bed properly, it’s one of those skills you use for the rest of your life. Swap a few pieces each season and you’re set without ever buying a whole new bedding set again.