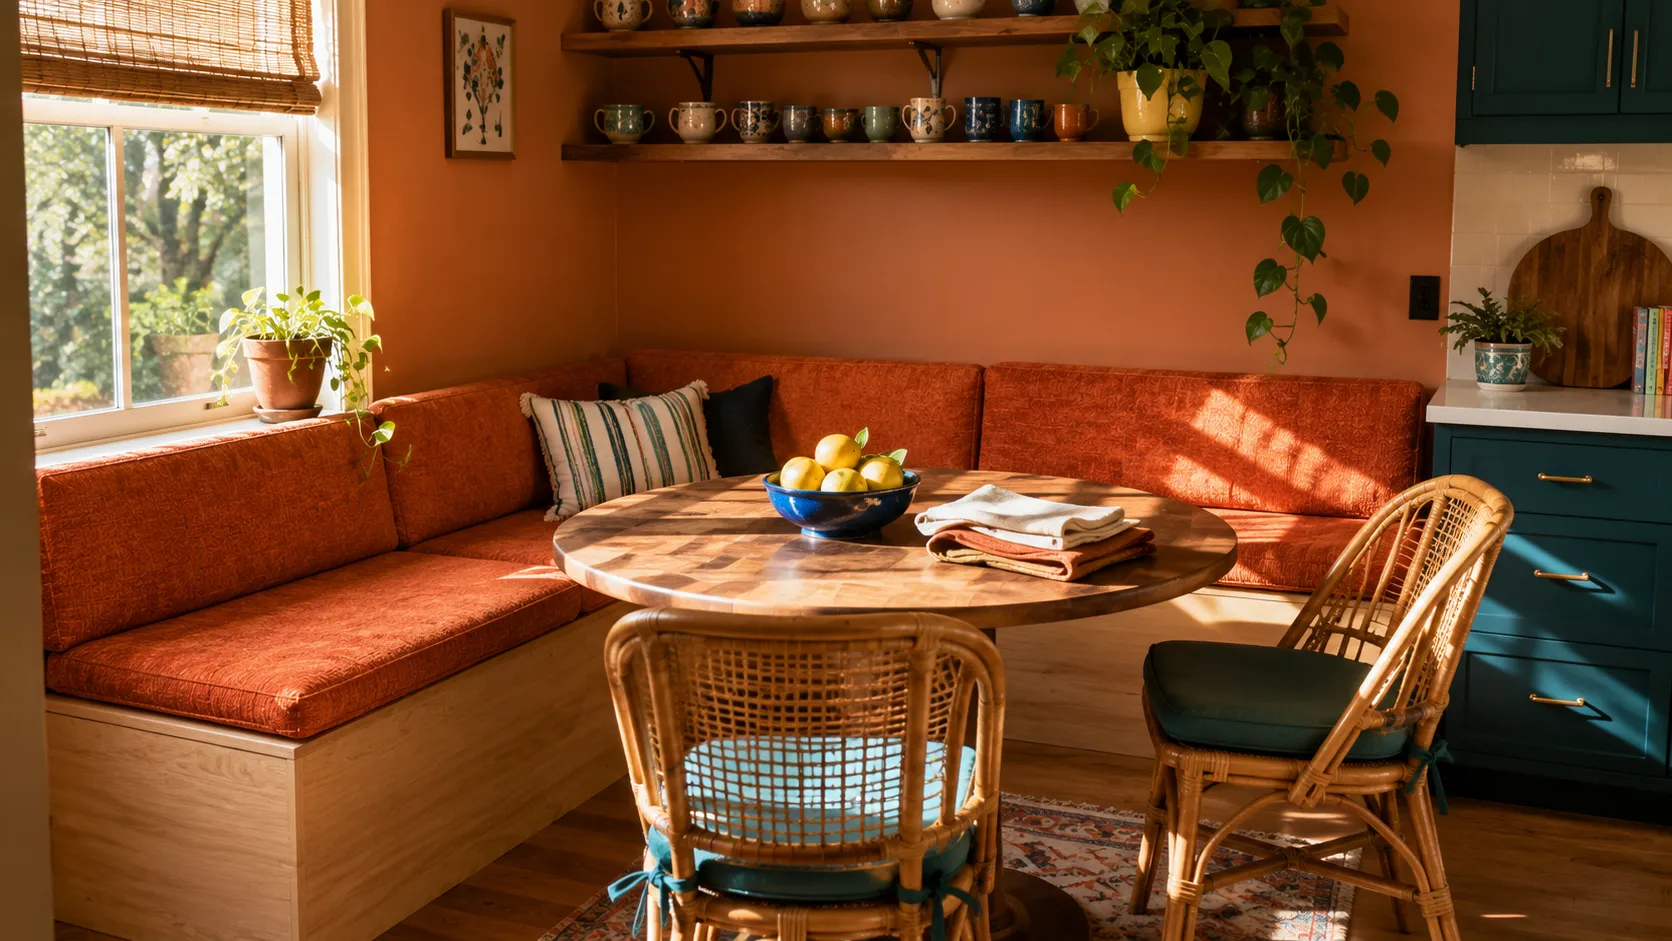
10 Genius DIY Banquette Seating Ideas Worth Trying
You know that awkward corner in your kitchen that never quite knows what to do with itself.
A few dining chairs get pushed in there and it still looks unfinished.
You Might Also Like
Most people assume built in seating means hiring a carpenter and spending more than a few chairs would cost.
That is why so many kitchens just live with mismatched chairs for years instead of fixing the problem.
Turns out diy banquette seating is way more doable than it looks, and you do not need any fancy carpentry skills to pull it off.
With a few basic materials and a weekend, that awkward corner can become the best seat in the house.
1. A built in corner bench for a kitchen nook
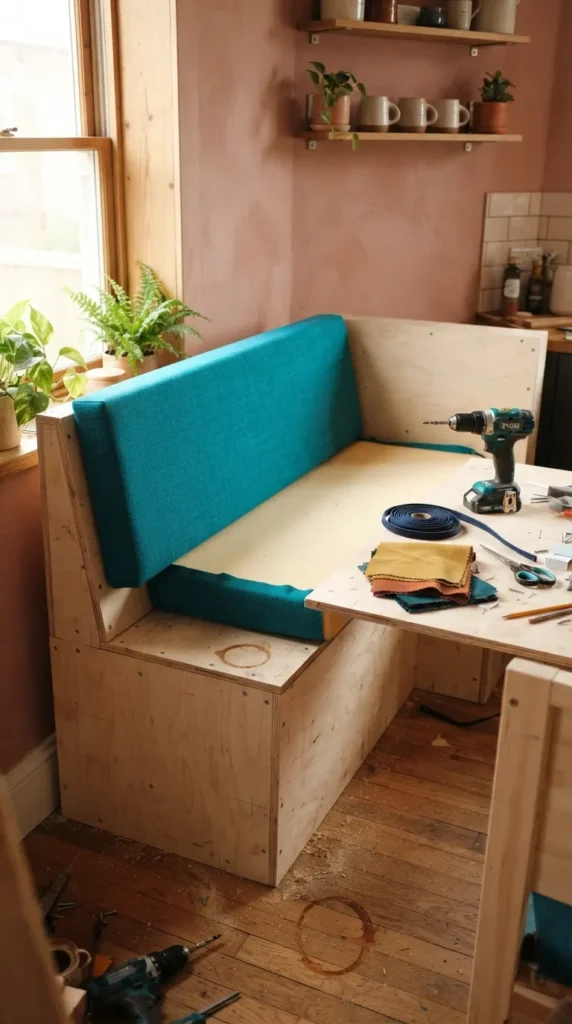
A corner bench is the classic starting point for diy banquette seating, and it works because it uses space chairs waste.
Two simple boxes built into an L shape along the walls give you a solid frame to build from.
Top it with plywood and foam, then wrap the whole thing in fabric for a finished, upholstered look.
This setup instantly turns a dead corner into the coziest spot in your kitchen.
2. An upholstered bench with removable cushions
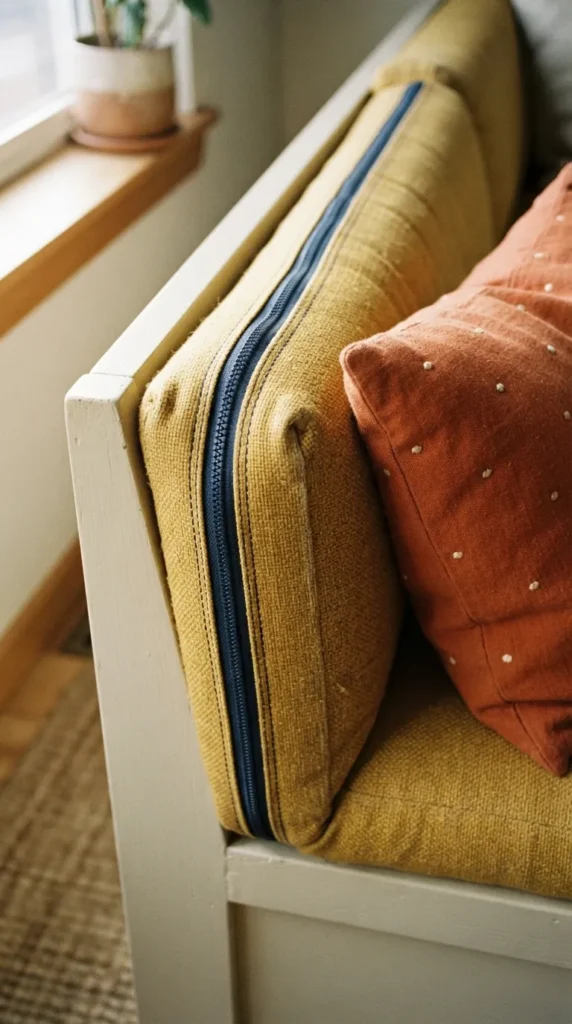
If building a full frame feels like too much, start with a simple bench and add upholstered cushions on top.
Removable covers make cleanup easy, which matters a lot if kids or pets are eating at that table.
Pick a fabric that can handle spills, like a performance weave or an outdoor rated canvas.
This is one of the simplest diy banquette seating options if you already have a plain bench sitting around.
3. A dining bench set against the wall
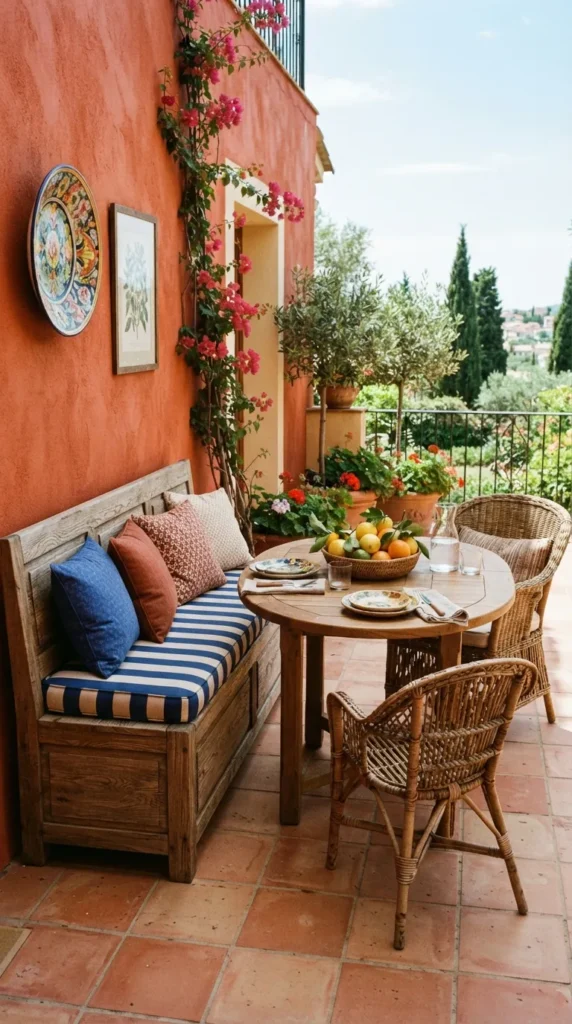
Sometimes the easiest fix is just pushing a bench flush against one wall instead of building anything from scratch.
This frees up floor space on the open side for chairs, making the whole dining area feel less crowded.
A bench against the wall also means one less set of chair legs to deal with when you are cleaning the floor.
It is a low effort way to get that banquette look without touching a single power tool.
4. An Ikea hack using cabinets as the base
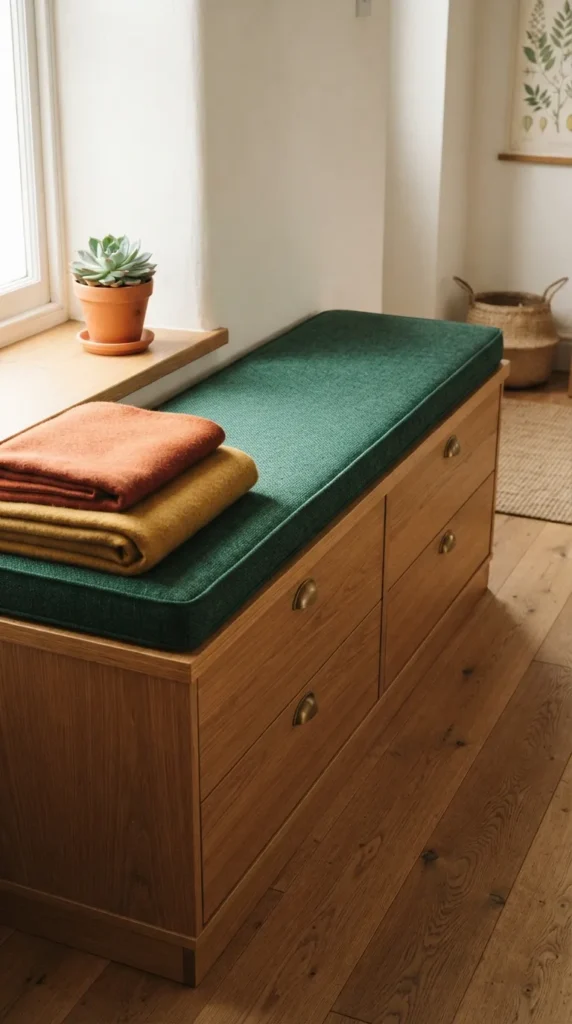
Ikea hack banquette seating is popular for a reason, since base cabinets already come with clean lines and real storage inside.
Kallax units or kitchen base cabinets work great as the bones for your bench, no custom building required.
Just add a cushioned top and a back cushion, then trim the edges so it looks intentional, not like leftover furniture.
This route saves serious time if you want diy banquette seating without cutting a single piece of wood yourself.
5. A storage bench with a lift top seat
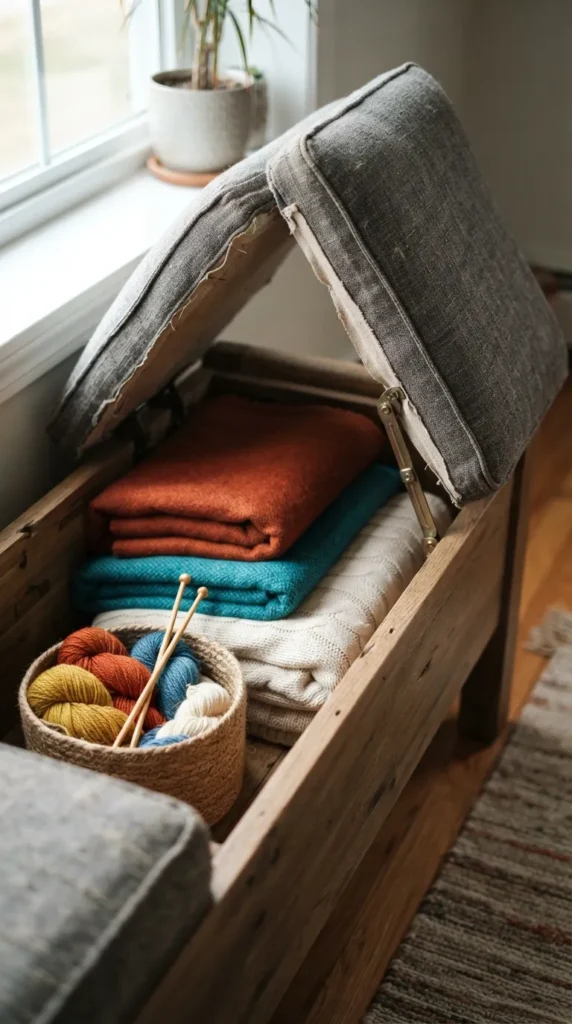
Storage is the real reason most people fall in love with diy banquette seating in the first place.
A hinged lift top lets you tuck away table linens, extra blankets, or kids toys right under the seat.
This works especially well in small kitchens where every inch of storage actually counts.
It also makes the bench pull double duty instead of just sitting there looking nice.
More Ideas to Love
6. An L shaped corner banquette for a dining room
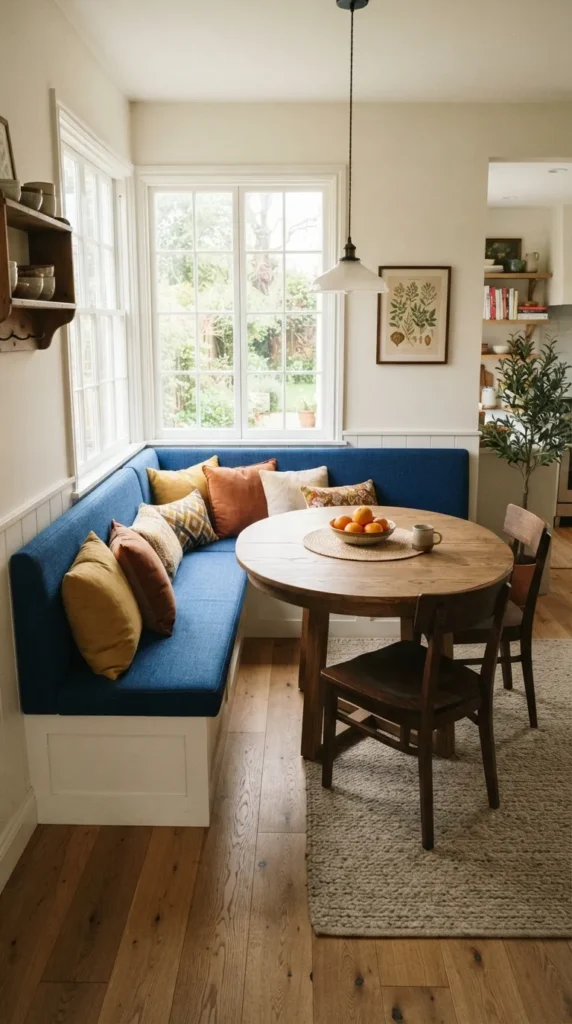
For a bigger dining room, an L shaped layout gives you way more seating than a straight bench ever could.
It also naturally defines the dining area, even in an open concept space without any walls to separate it.
Build both sides at the same height so cushions and backs line up cleanly at the corner seam.
This is one of the more ambitious diy banquette seating projects, but the payoff is a dining room that feels custom built.
7. A small banquette for a tiny kitchen
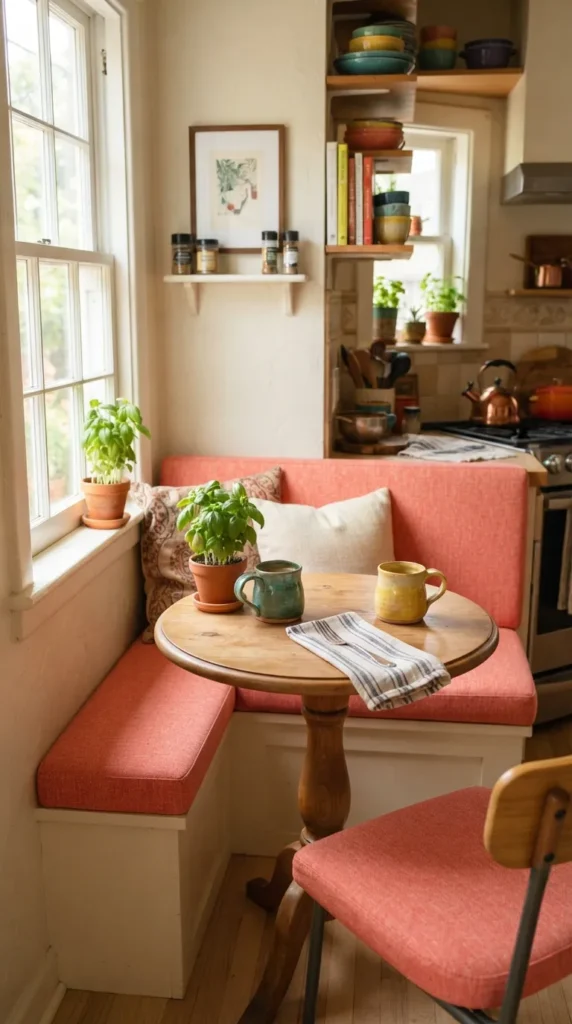
Small banquette seating proves you do not need a big kitchen to fit built in seating somewhere in it.
Even a narrow bench along one wall, paired with a small round table, can seat two or three people comfortably.
Keep the bench shallow, around sixteen to eighteen inches deep, so it does not eat into your walking space.
This is exactly the kind of diy banquette seating that works in apartments and starter homes with limited square footage.
8. Mixing a bench with chairs on the open side
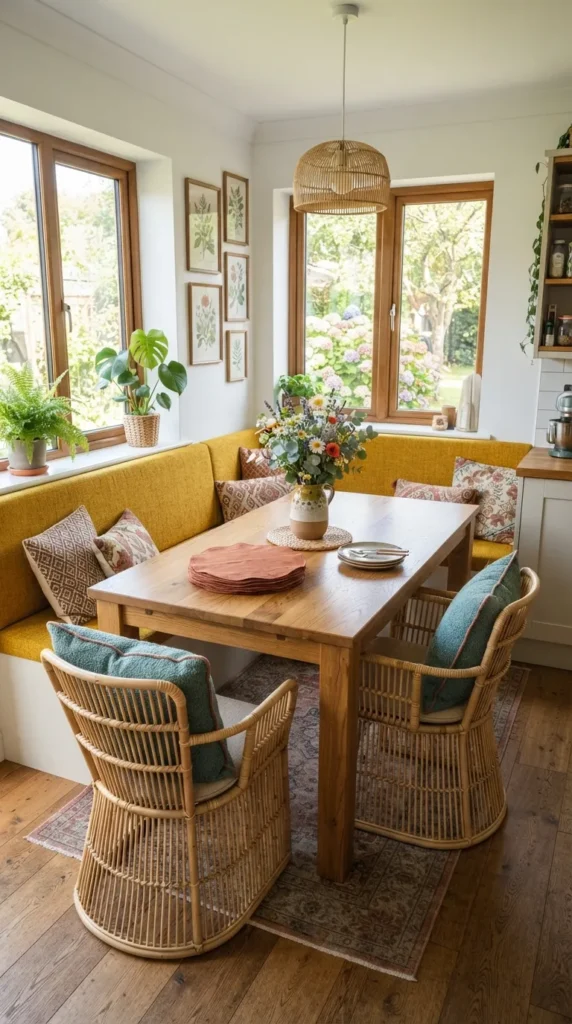
You do not have to fully commit to a bench on every side of the table.
Pairing a bench along the wall with two or three chairs on the open side keeps the layout flexible for guests.
This combo also makes it easier to slide in and out without climbing over anyone at a crowded table.
It is a practical middle ground if you like the look of diy banquette seating but still want movable seats.
9. Adding a tailored skirt for a finished look
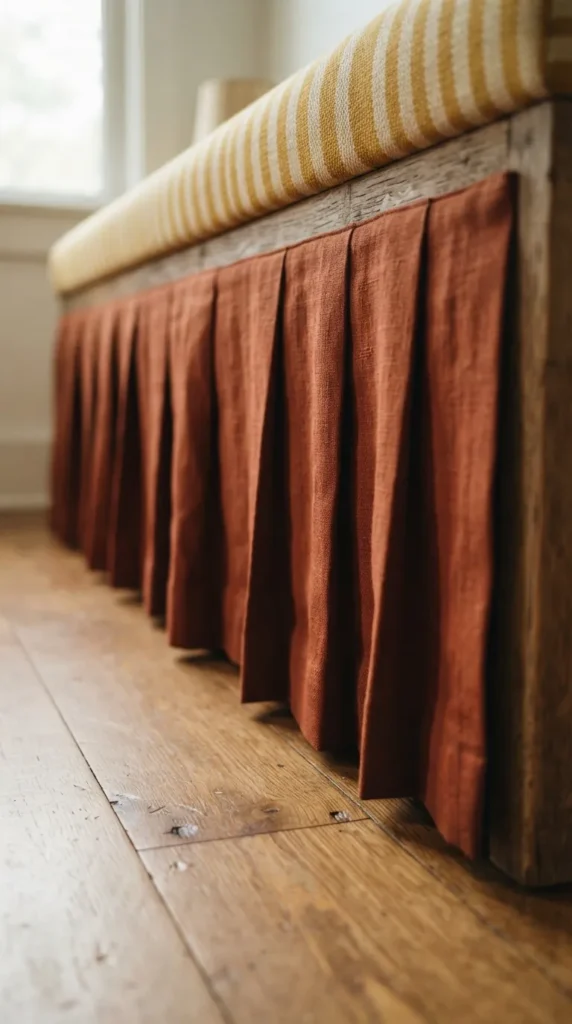
A fabric skirt around the base of your bench hides the plywood or cabinet frame underneath completely.
Box pleats at the corners give it a tailored, custom furniture look instead of something obviously homemade.
This small detail is what separates a DIY project from something that looks like it came from a showroom.
It is worth the extra yard of fabric if you want your diy banquette seating to look fully finished.
Keep Reading
10. Choosing a durable fabric for high traffic seating
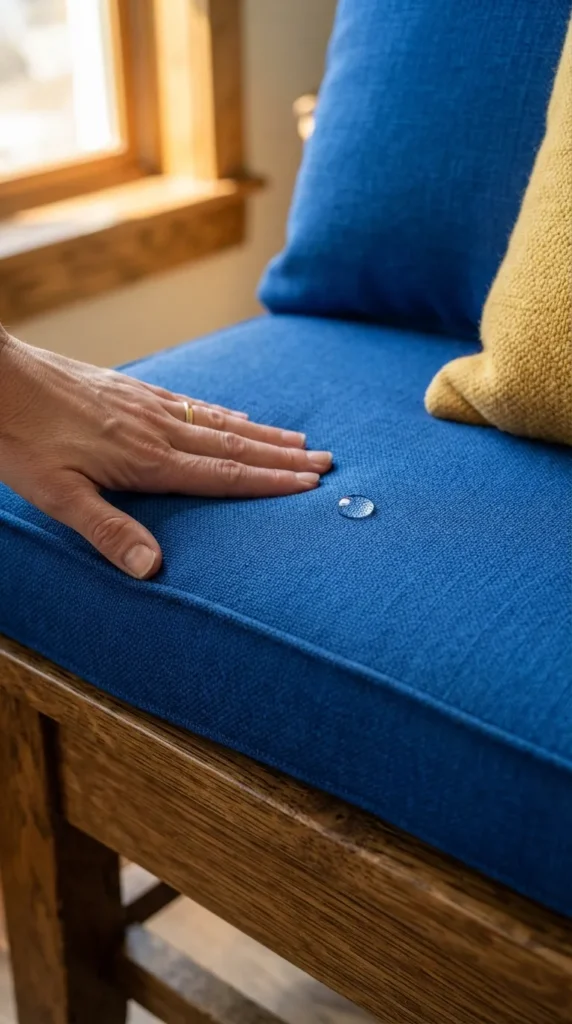
The fabric you choose matters just as much as the build itself when it comes to banquette seating.
Performance fabrics resist stains and hold up to daily wear far better than delicate upholstery ever could.
Darker tones or subtle patterns also hide crumbs and everyday messes better than a plain light color.
This one choice can make your diy banquette seating look good for years instead of just the first few months.
Diy banquette seating is proof that a built in look does not require a professional budget or advanced tools.
Start with one simple bench, pick a fabric that fits your life, and build from there at your own pace.
That awkward kitchen corner has been waiting for this the whole time, so give it the seat it deserves.
I am Eleanor Foy, the mom of two behind DaisyHacks. I am a lover of clean, calm homes and a person who will happily spend 45 minutes researching a 5 minute cleaning hack. No regrets.