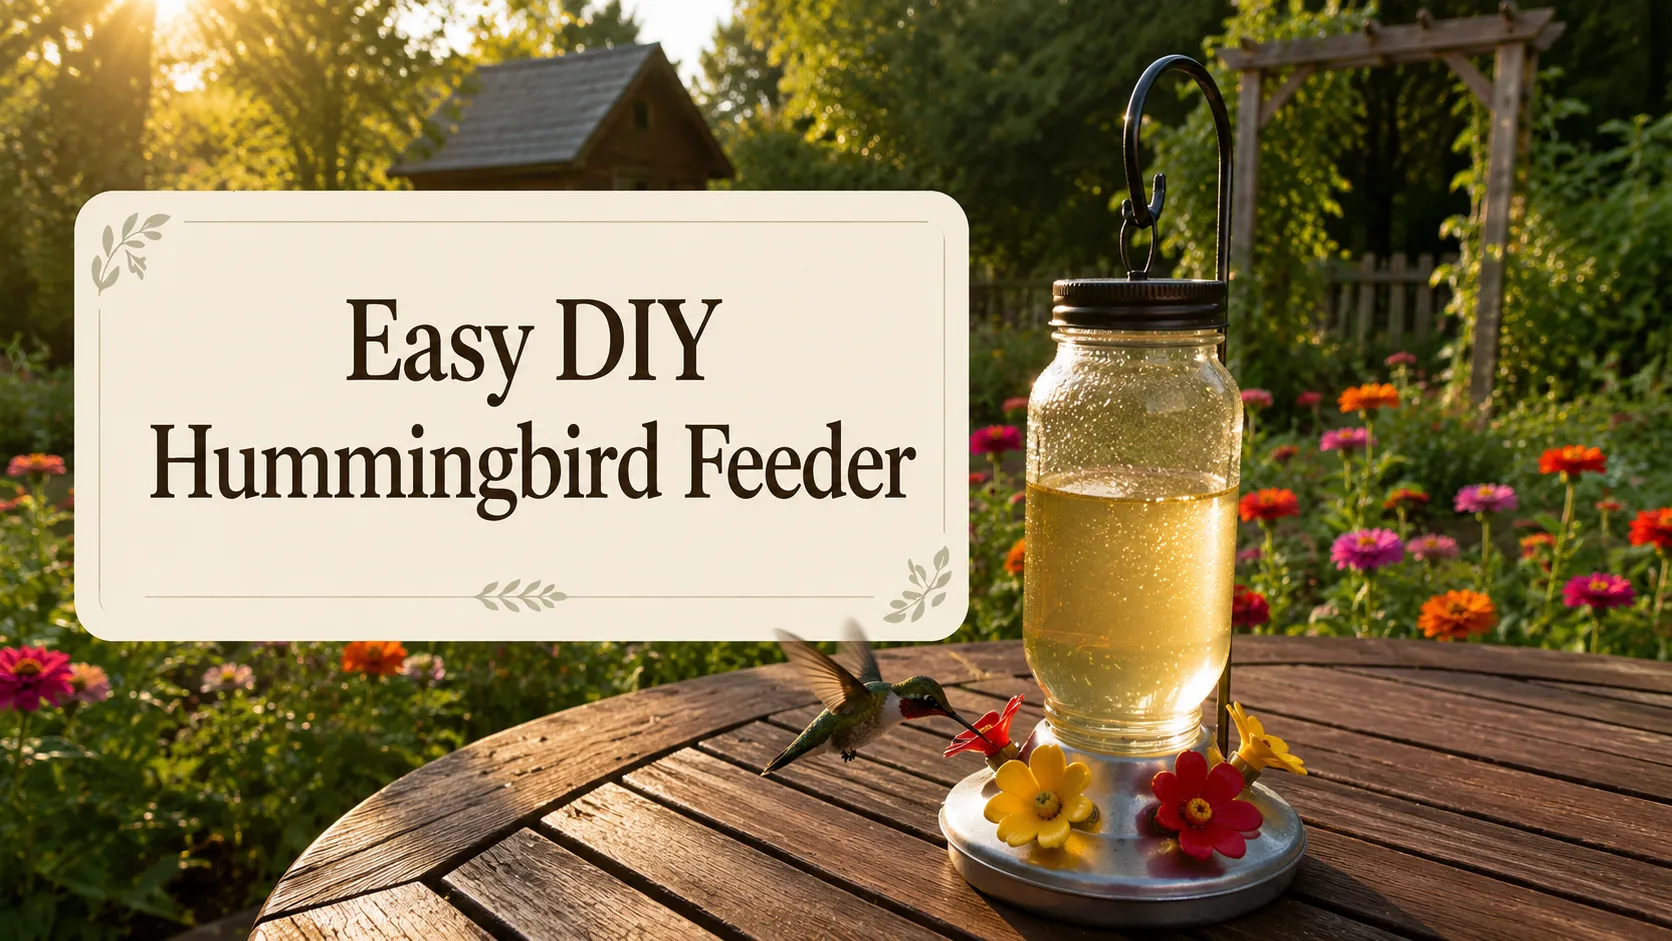
DIY Hummingbird Feeder: 7 Easy Steps You’ll Love
You know that feeling when your garden looks great but something is still missing? Like all the flowers are blooming but no actual life is buzzing around them. Most people just buy a plastic feeder from the store and call it a day, but honestly those things barely match your yard and they’re kinda boring to look at. There’s a way better way to do this and it costs almost nothing.
A DIY hummingbird feeder made from stuff you probably already have lying around is lowkey one of the easiest garden upgrades you can pull off this weekend. It’s cheap, it looks way more personal than a store bought one, and it actually works just as well at pulling hummingbirds into your yard.
Table Of Contents
- What You’ll Need
- Step 1: Prepare The Bottle Cap
- Step 2: Cut The Aluminum Cans
- Step 3: Assemble The Feeder Base
- Step 4: Create The Feeding Ports
- Step 5: Make The Decorative Flowers
- Step 6: Attach The Flowers
- Step 7: Attach The Bottle And Add A Hanger
- Homemade Hummingbird Nectar Recipe
- Tips For Attracting More Hummingbirds
- FAQ
What You’ll Need
You don’t need a trip to the craft store for this one. Most of this is already sitting in your recycling bin or junk drawer.
- Glass or plastic bottle with a screw on cap
- 2 aluminum cans
- Scissors
- Flat head screwdriver
- 1/8 inch drill bit or a medium nail
- 5 minute epoxy
- Toothpicks
- Spray paint in red, yellow, pink, or another bright color
- Twine, wire, or hot glue for hanging
Step 1: Prepare The Bottle Cap
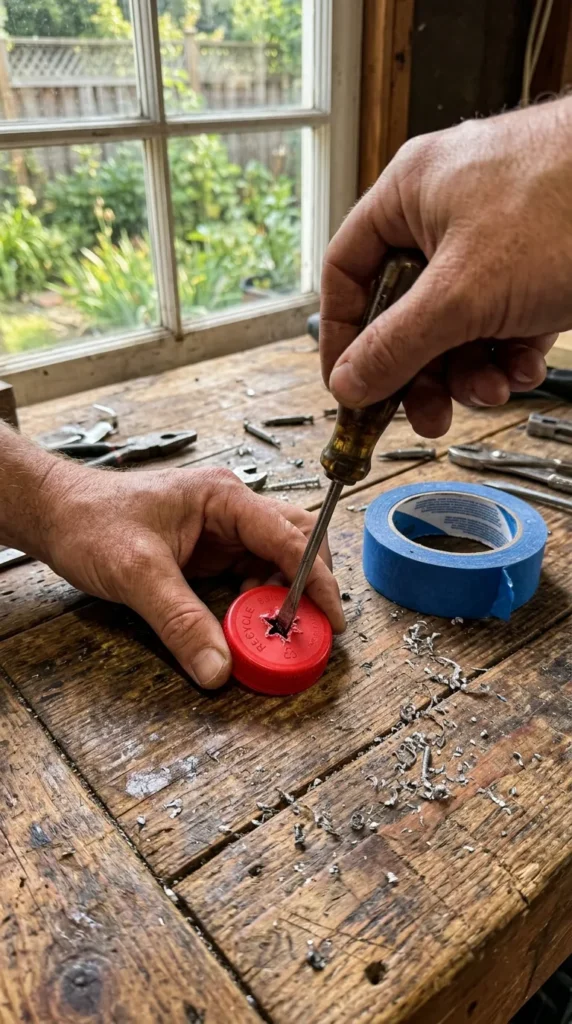
Grab your flat head screwdriver and carefully poke a hole right through the center of the bottle cap. Take it slow here, the plastic can crack if you push too hard.
Use the tip of your scissors to widen that hole until it’s about 3/8 inch wide. This is what lets the nectar actually flow down into the feeder.
Now take one of your aluminum cans and poke a matching hole in the center of the bottom. Same size, same idea.
Step 2: Cut The Aluminum Cans
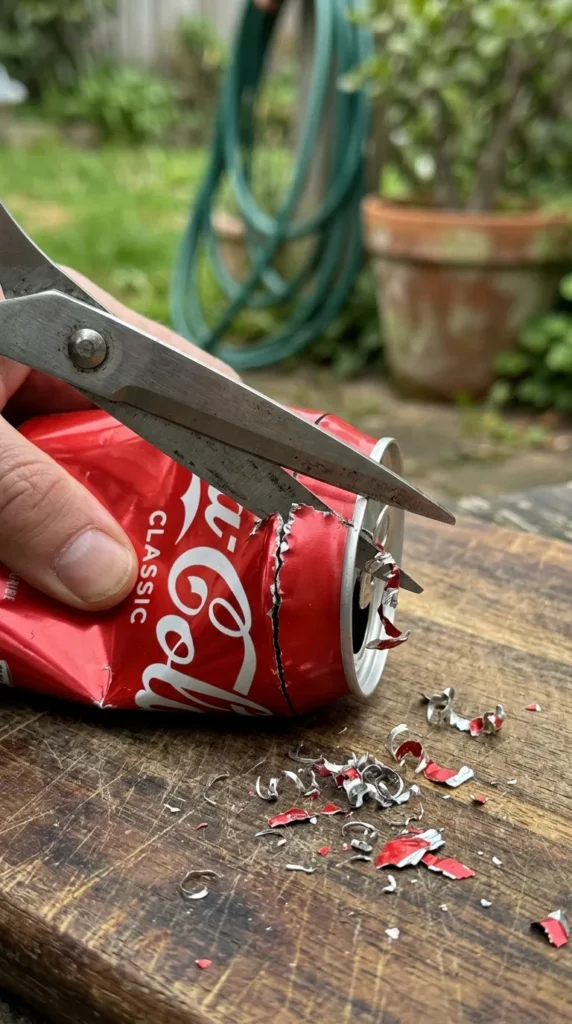
Mark both cans about 3/8 inch up from the bottom edge with a marker or pen. This is your cutting line.
Carefully cut around that line on both cans to remove the bottoms. Then cut a single slit down one side of each piece so they can slide together later.
Go slow with this part, aluminum edges get sharp fast and you don’t want to nick yourself.
Step 3: Assemble The Feeder Base
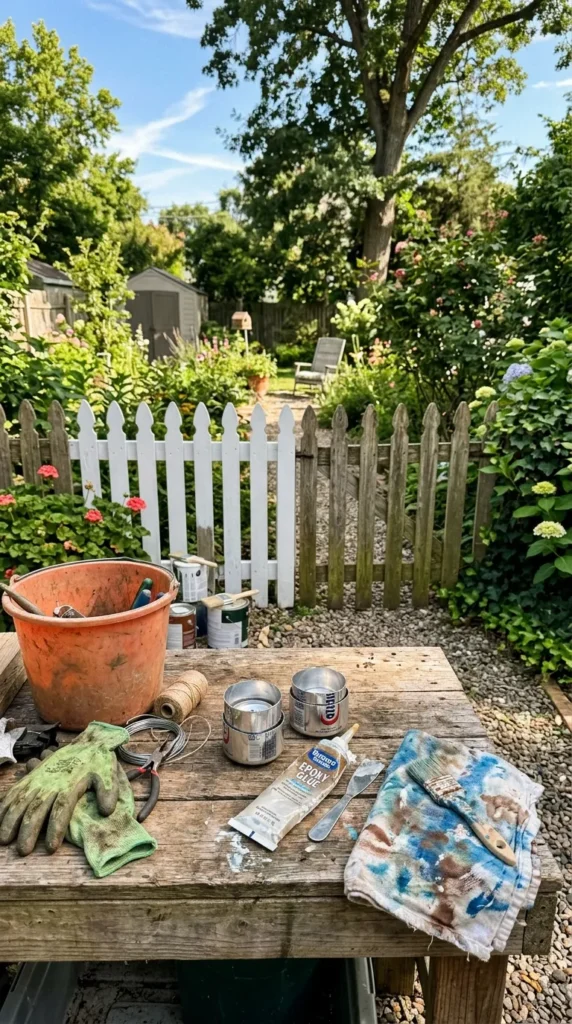
Take the can bottom that has your center hole and make three evenly spaced marks around its outer edge. These will line up with your feeding ports later.
Cut a single slit into one side of that piece and slide it inside the second can bottom so they nest together.
Mix up a small batch of epoxy and run it along the seam where the two pieces meet. Work fast here, epoxy doesn’t give you a lot of time before it sets.
Step 4: Create The Feeding Ports
Spread a thin layer of epoxy on the flat side of your bottle cap and press it onto the center of your feeder base. Make sure those holes you drilled earlier line up perfectly.
Give it a few minutes to fully set before moving on.
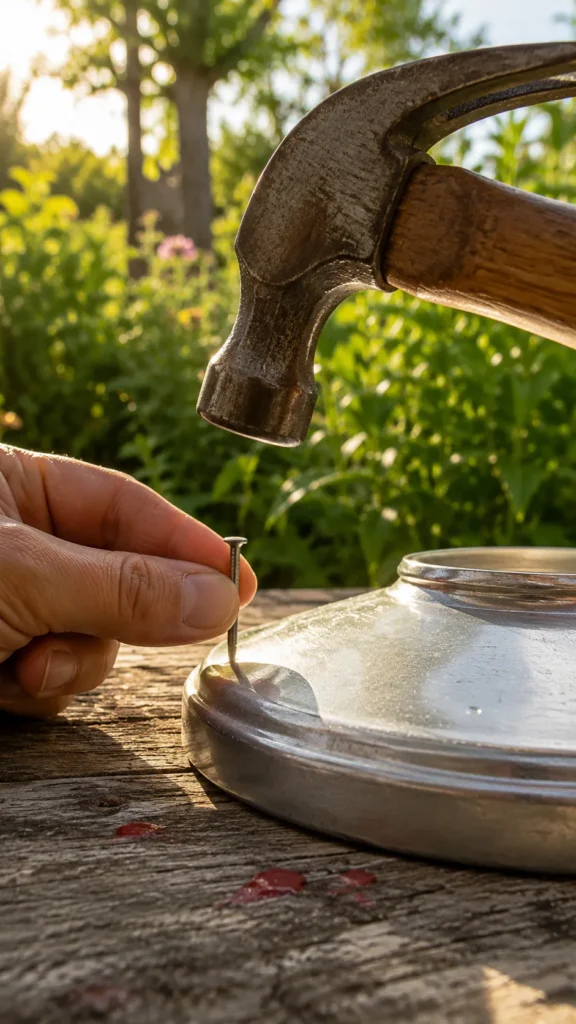
Once it’s solid, use your drill bit or nail to make three evenly spaced holes around the outer edge of the base. These are your actual feeding ports.
Step 5: Make The Decorative Flowers
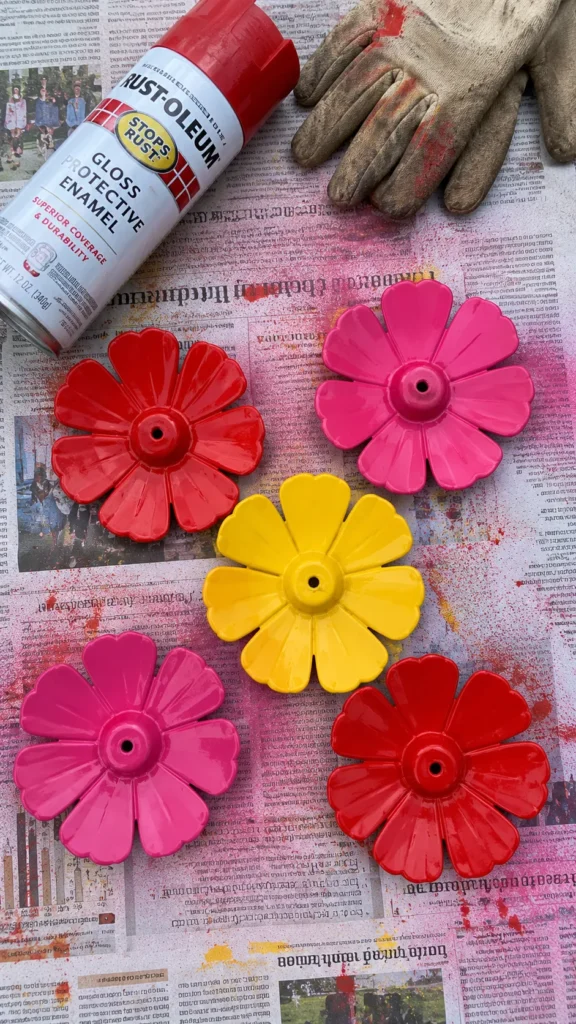
Use the leftover pieces from your aluminum cans to cut out flower shapes, each one about an inch to an inch and a half across. You don’t need to be perfect, real flowers aren’t symmetrical either.
Drill a tiny hole through the center of each one.
Spray paint them in bold colors like red, hot pink, orange, or sunny yellow. These bright colors aren’t just for looks, they’re literally what draws hummingbirds in 🌺. Let everything dry completely before you touch it again.
Step 6: Attach The Flowers
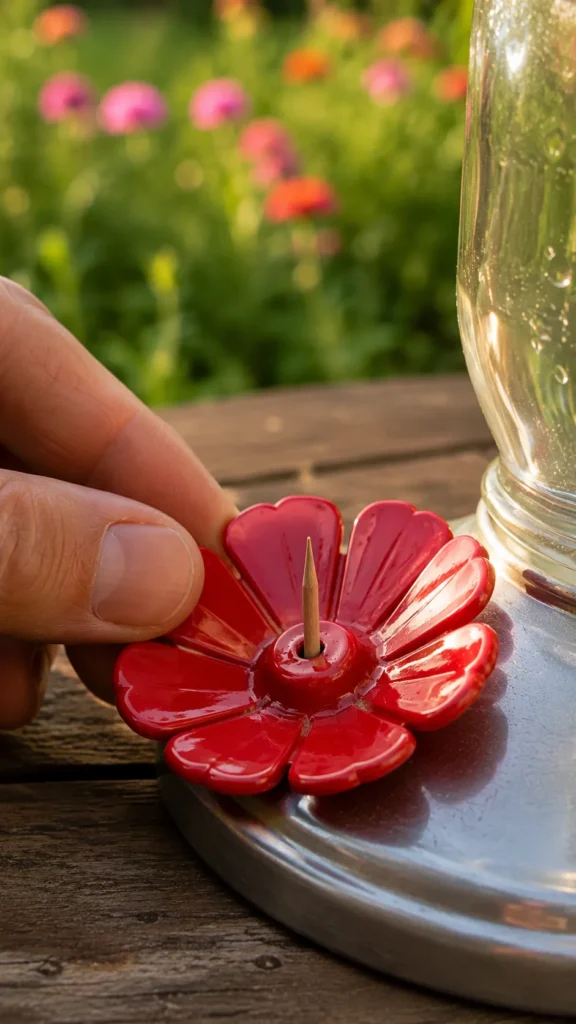
Mix up one more small batch of epoxy. Slide a toothpick through the center hole of each flower so it lines up with one of your feeding ports.
Glue each flower in place and pull the toothpick out before the epoxy fully hardens.
Once everything is set, gently curl the petals upward a little so they look more like real blooms instead of flat aluminum cutouts.
Step 7: Attach The Bottle And Add A Hanger
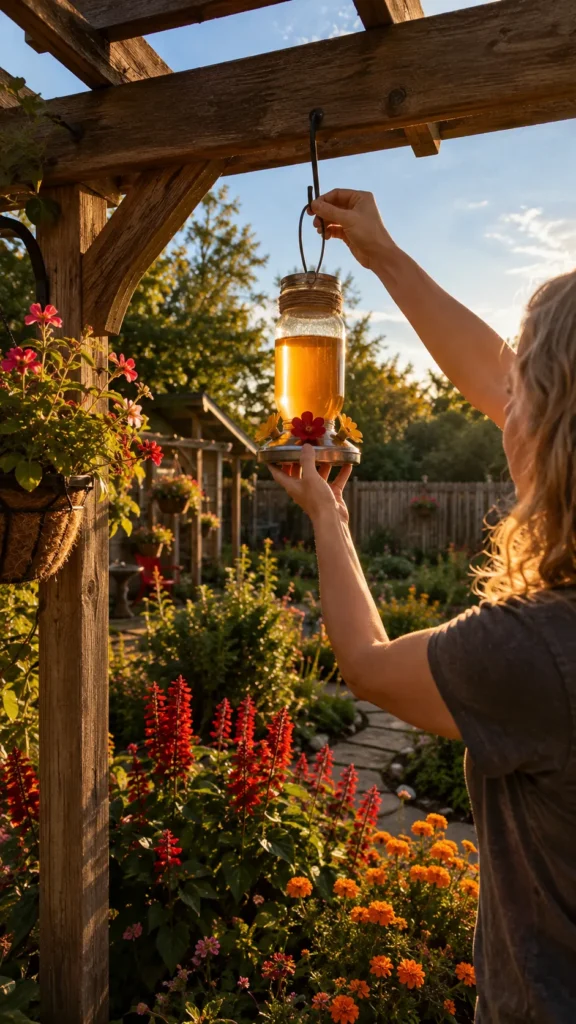
Fill your bottle with the homemade nectar from the recipe below. Flip your finished feeder base upside down and screw the bottle straight into the bottle cap assembly.
Gravity does the rest, nectar slowly drips down into the feeding ports as hummingbirds visit.
Wrap some twine, wire, or hot glue around the neck of the bottle to create a loop for hanging. Hang it somewhere near your flower beds or a sunny patio corner.
Homemade Hummingbird Nectar Recipe
This part takes two minutes and two ingredients.
- 1 cup white sugar
- 4 cups water
Bring the water to a boil, stir in the sugar until it’s fully dissolved, then let the mixture cool all the way down before filling your feeder. Skip the honey, skip the food coloring, skip any artificial sweeteners. Plain sugar water is genuinely all hummingbirds want, no cap.
Tips For Attracting More Hummingbirds
A few small things make a real difference once your DIY hummingbird feeder is up.
Hang it near brightly colored flowers since hummingbirds are drawn to color before they even notice the feeder itself. Planting things like bee balm, salvia, petunias, or trumpet vine nearby basically doubles your odds.
Keep the nectar fresh and rinse the feeder out every few days, especially when it’s hot out. A partially shaded spot keeps the nectar from spoiling as fast, and if you’ve got a bigger yard, a couple feeders spread out tends to bring in more visitors than just one.