22 Christmas Crafts For Kids To Make and Display
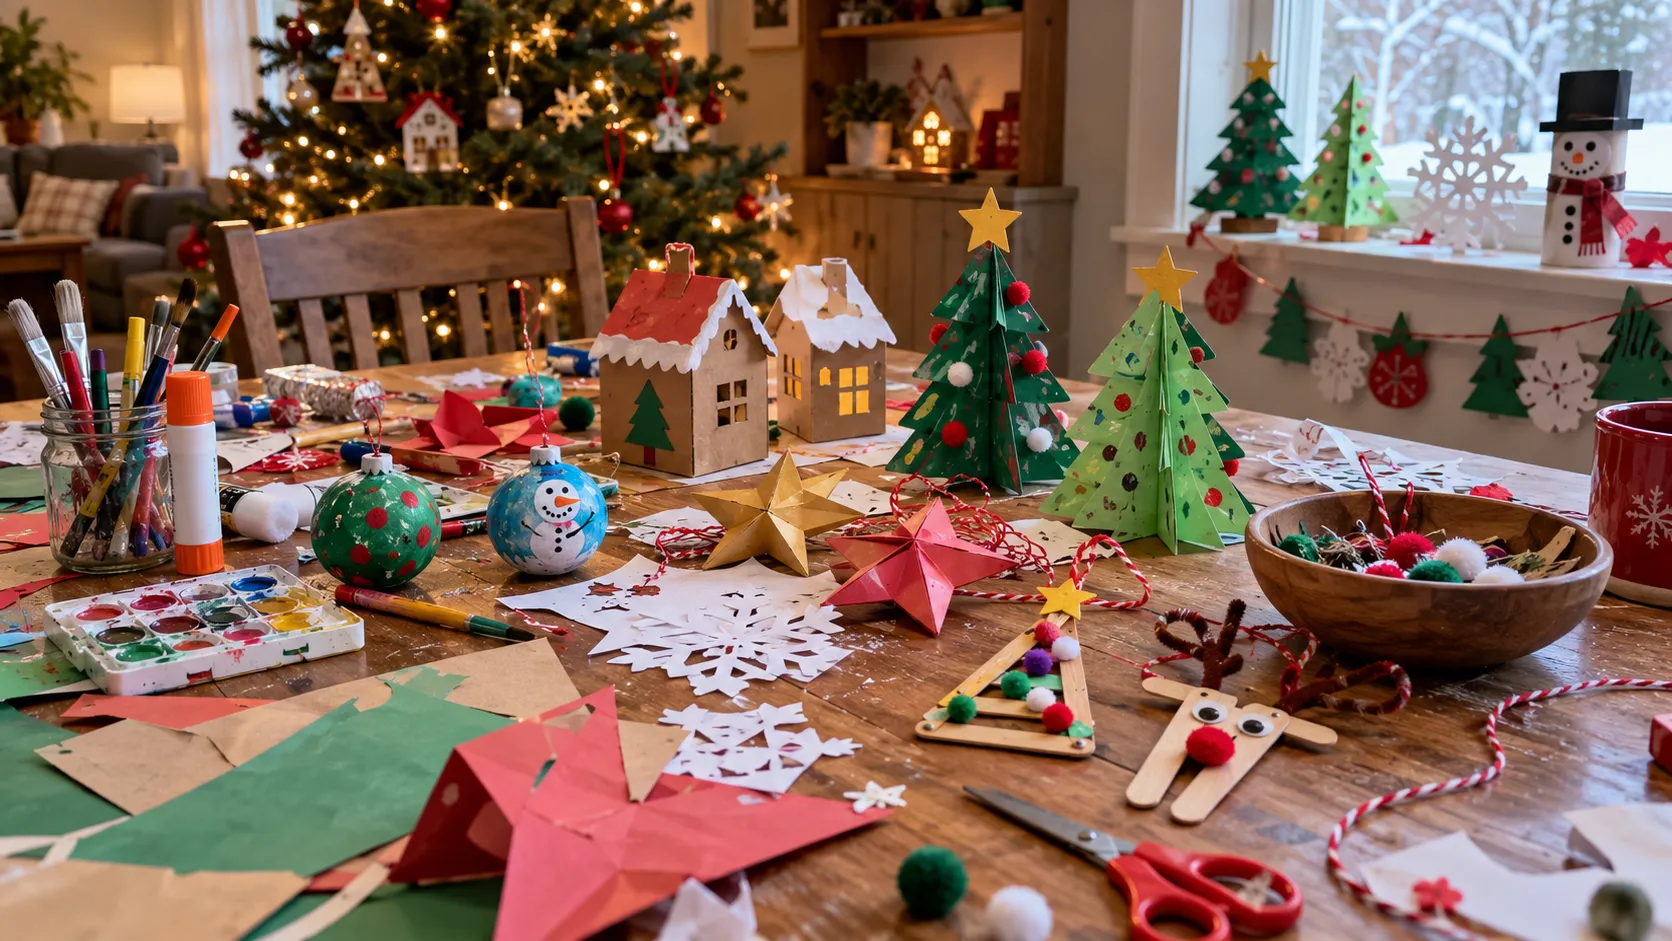
Christmas crafts for kids can add cheerful color without taking over every table and shelf.
You Might Also Like
The best projects are simple enough for small hands and useful enough to display afterward.
Some become ornaments, while others bring a little seasonal color to walls, windows, fabric, or a book basket.
You can keep the materials basic, then let each child choose the colors and small details.
A mix of flat crafts, hanging pieces, and sturdy decorations gives your holiday displays more texture and interest.
Set out a washable work surface, gather a few supplies, and let the making begin.
Let's break it down.
1- Build Cotton Ball Snowmen
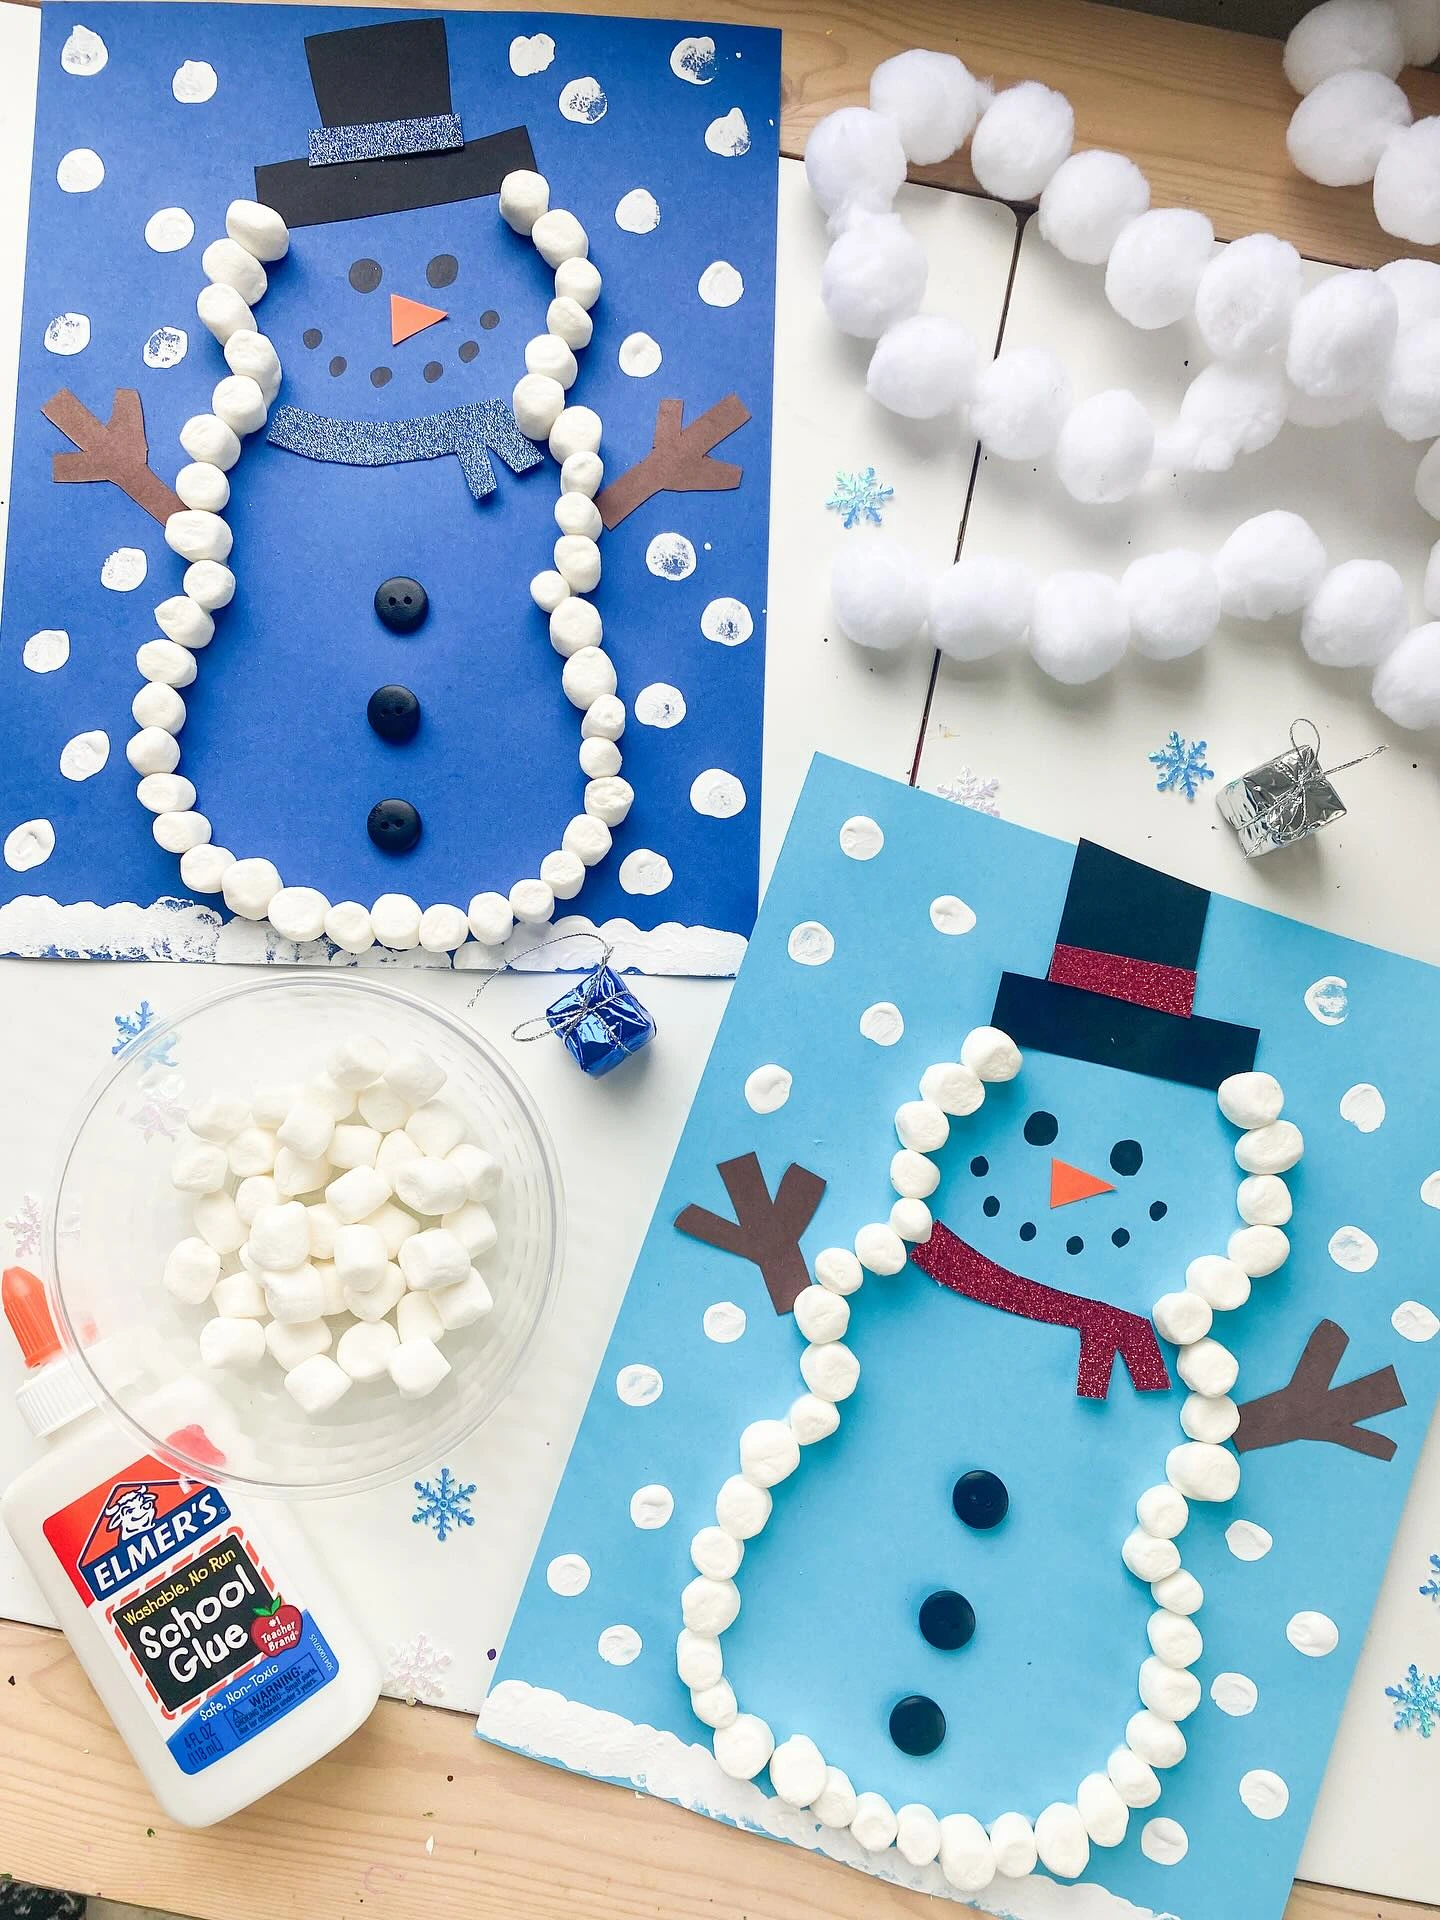
Blue paper makes a cool background for a snowman built from soft white cotton balls.
Buttons, paper hats, and small snowflake details give the round shape a clear face and a little personality.
For younger children, draw the snowman outline first so they have an easy guide for placing the cotton balls.
- Blue paper
- Cotton balls
- Glue
- Buttons
- Paper hats
- Snowflake details
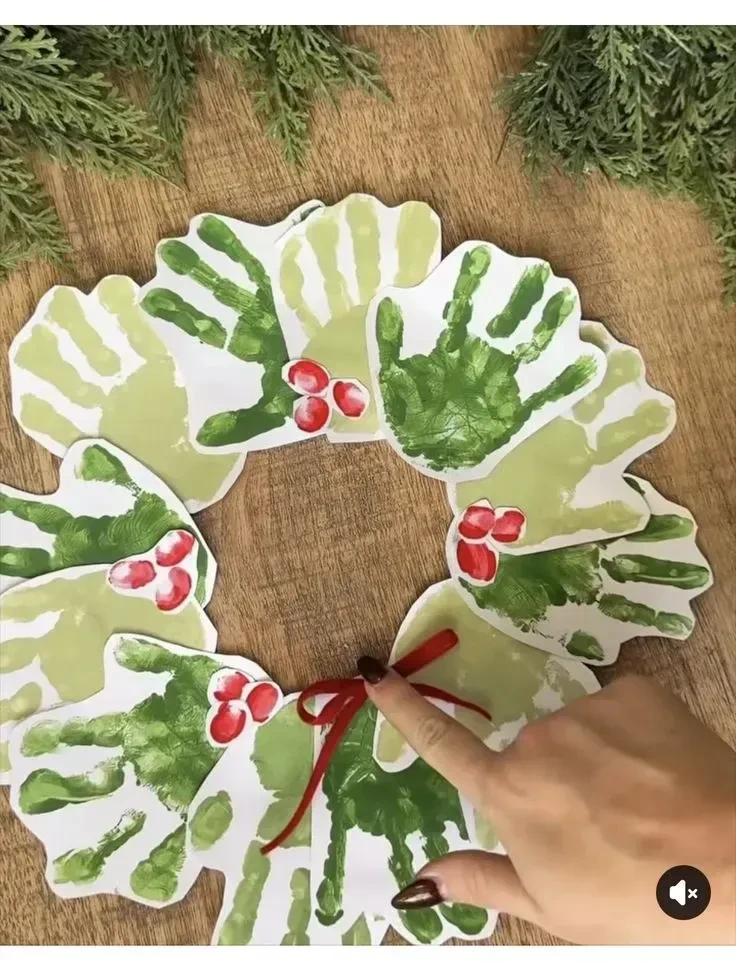
2- Shape a Handprint Wreath
Green handprints create the leafy ring of a keepsake wreath, while red fingerprint berries add small points of color.
Leaving the center open helps the wreath read clearly, and a ribbon bow at the bottom gives the shape a finished focal point.
Paper keeps the project easy to mount on a door, wall, or refrigerator.
- Green handprints
- Red fingerprint berries
- Paper
- Glue
- Ribbon bow
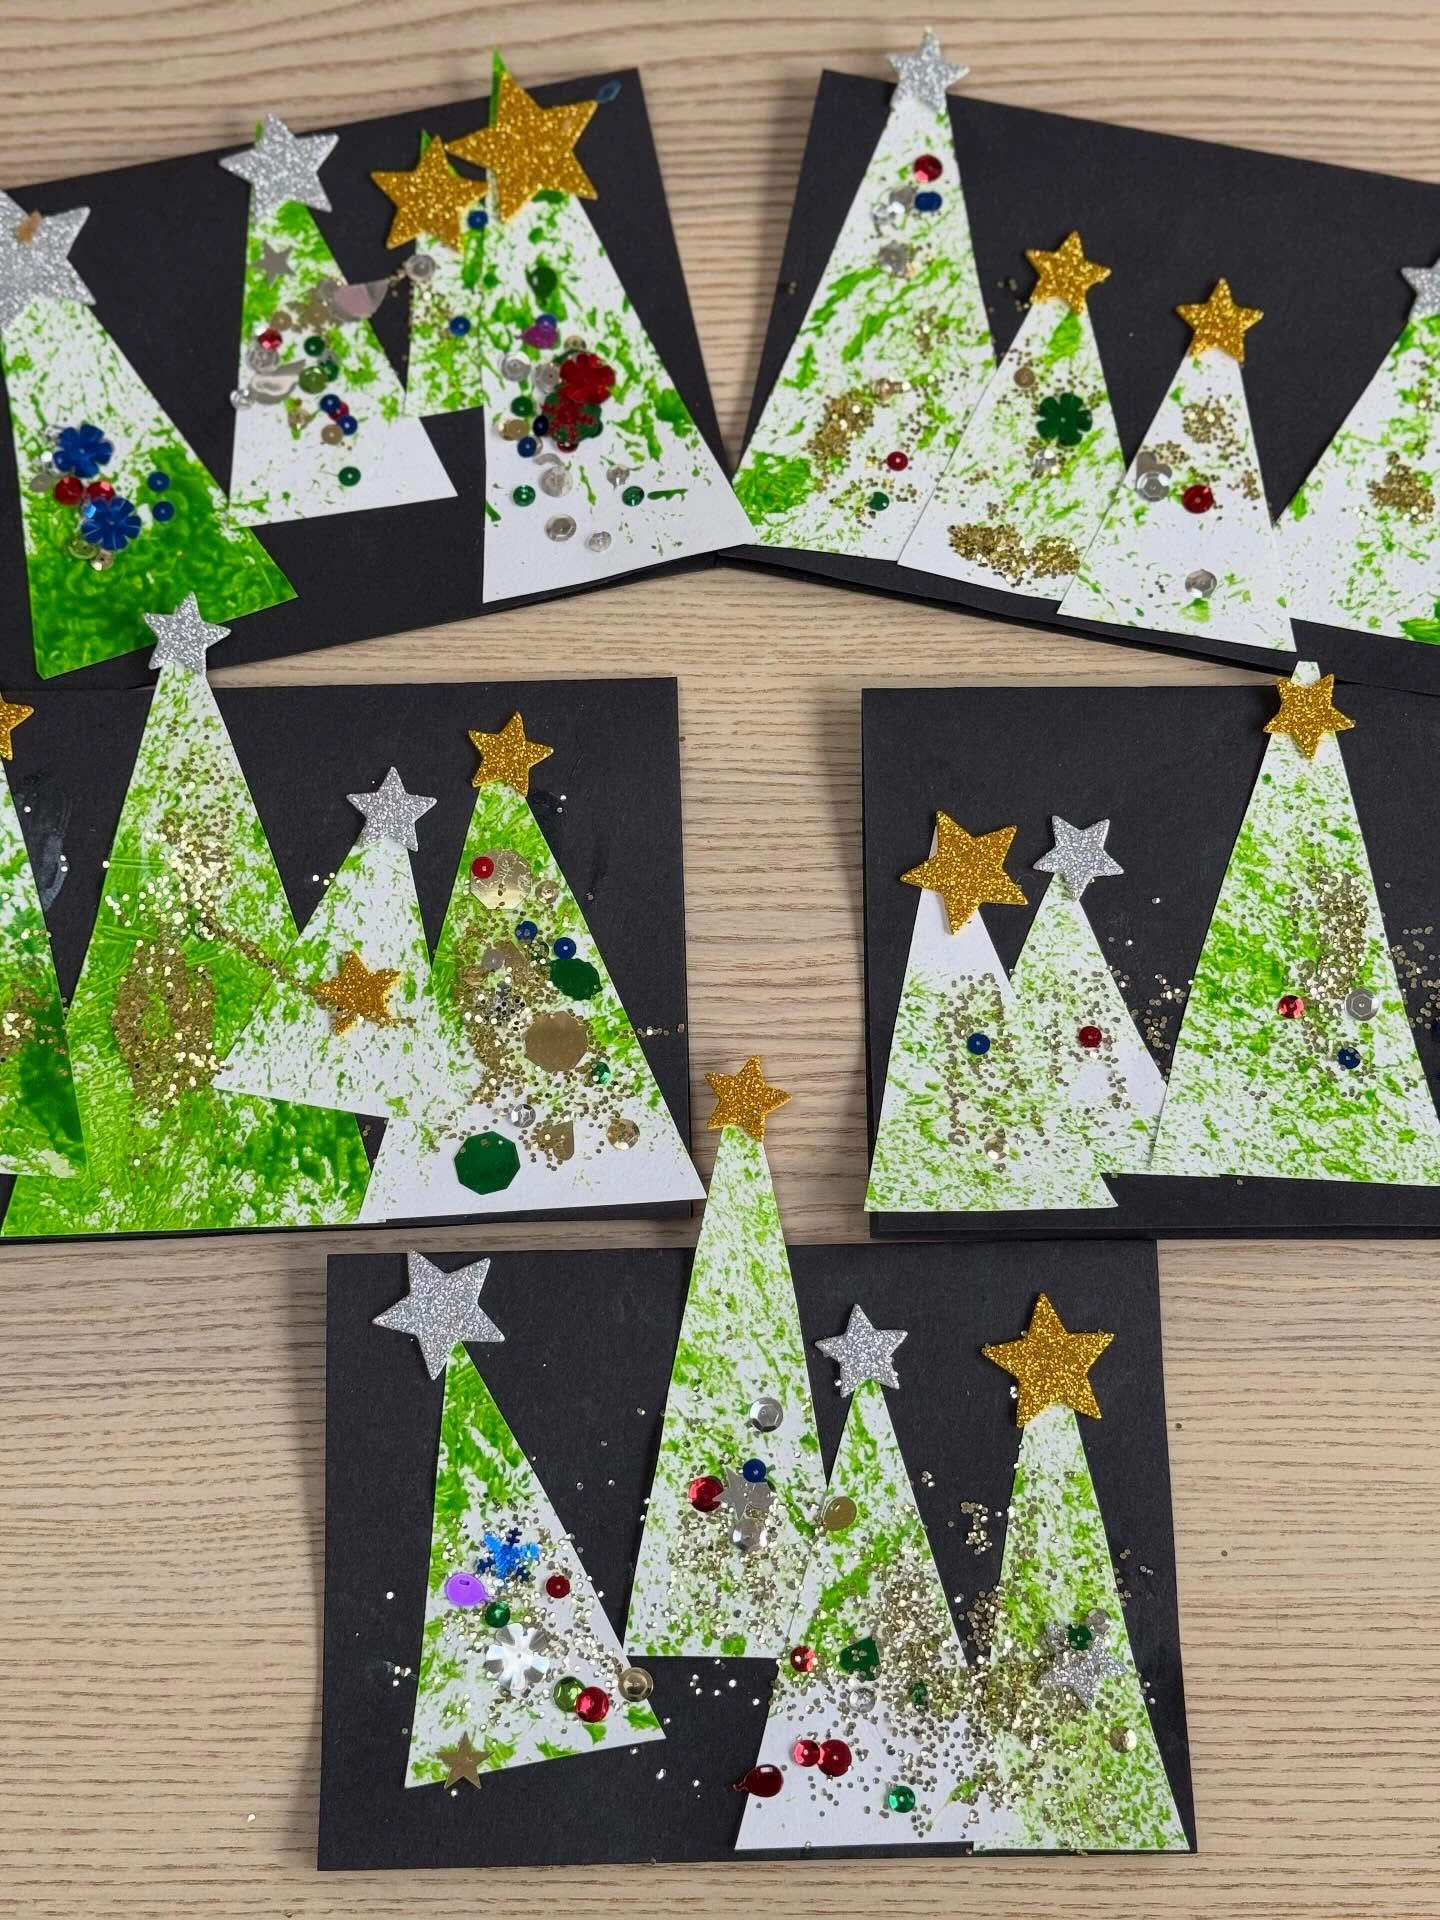
3- Sprinkle Paint on Paper Trees
Paper triangle trees make a forgiving canvas for green paint, glitter, glue, and paper stars.
The loose paint splatter adds movement, so the trees do not need perfectly clean edges to look festive.
Place scrap paper underneath before painting, especially when several children are working side by side.
- Paper triangle trees
- Green paint
- Glitter
- Glue
- Paper stars
- Scrap paper
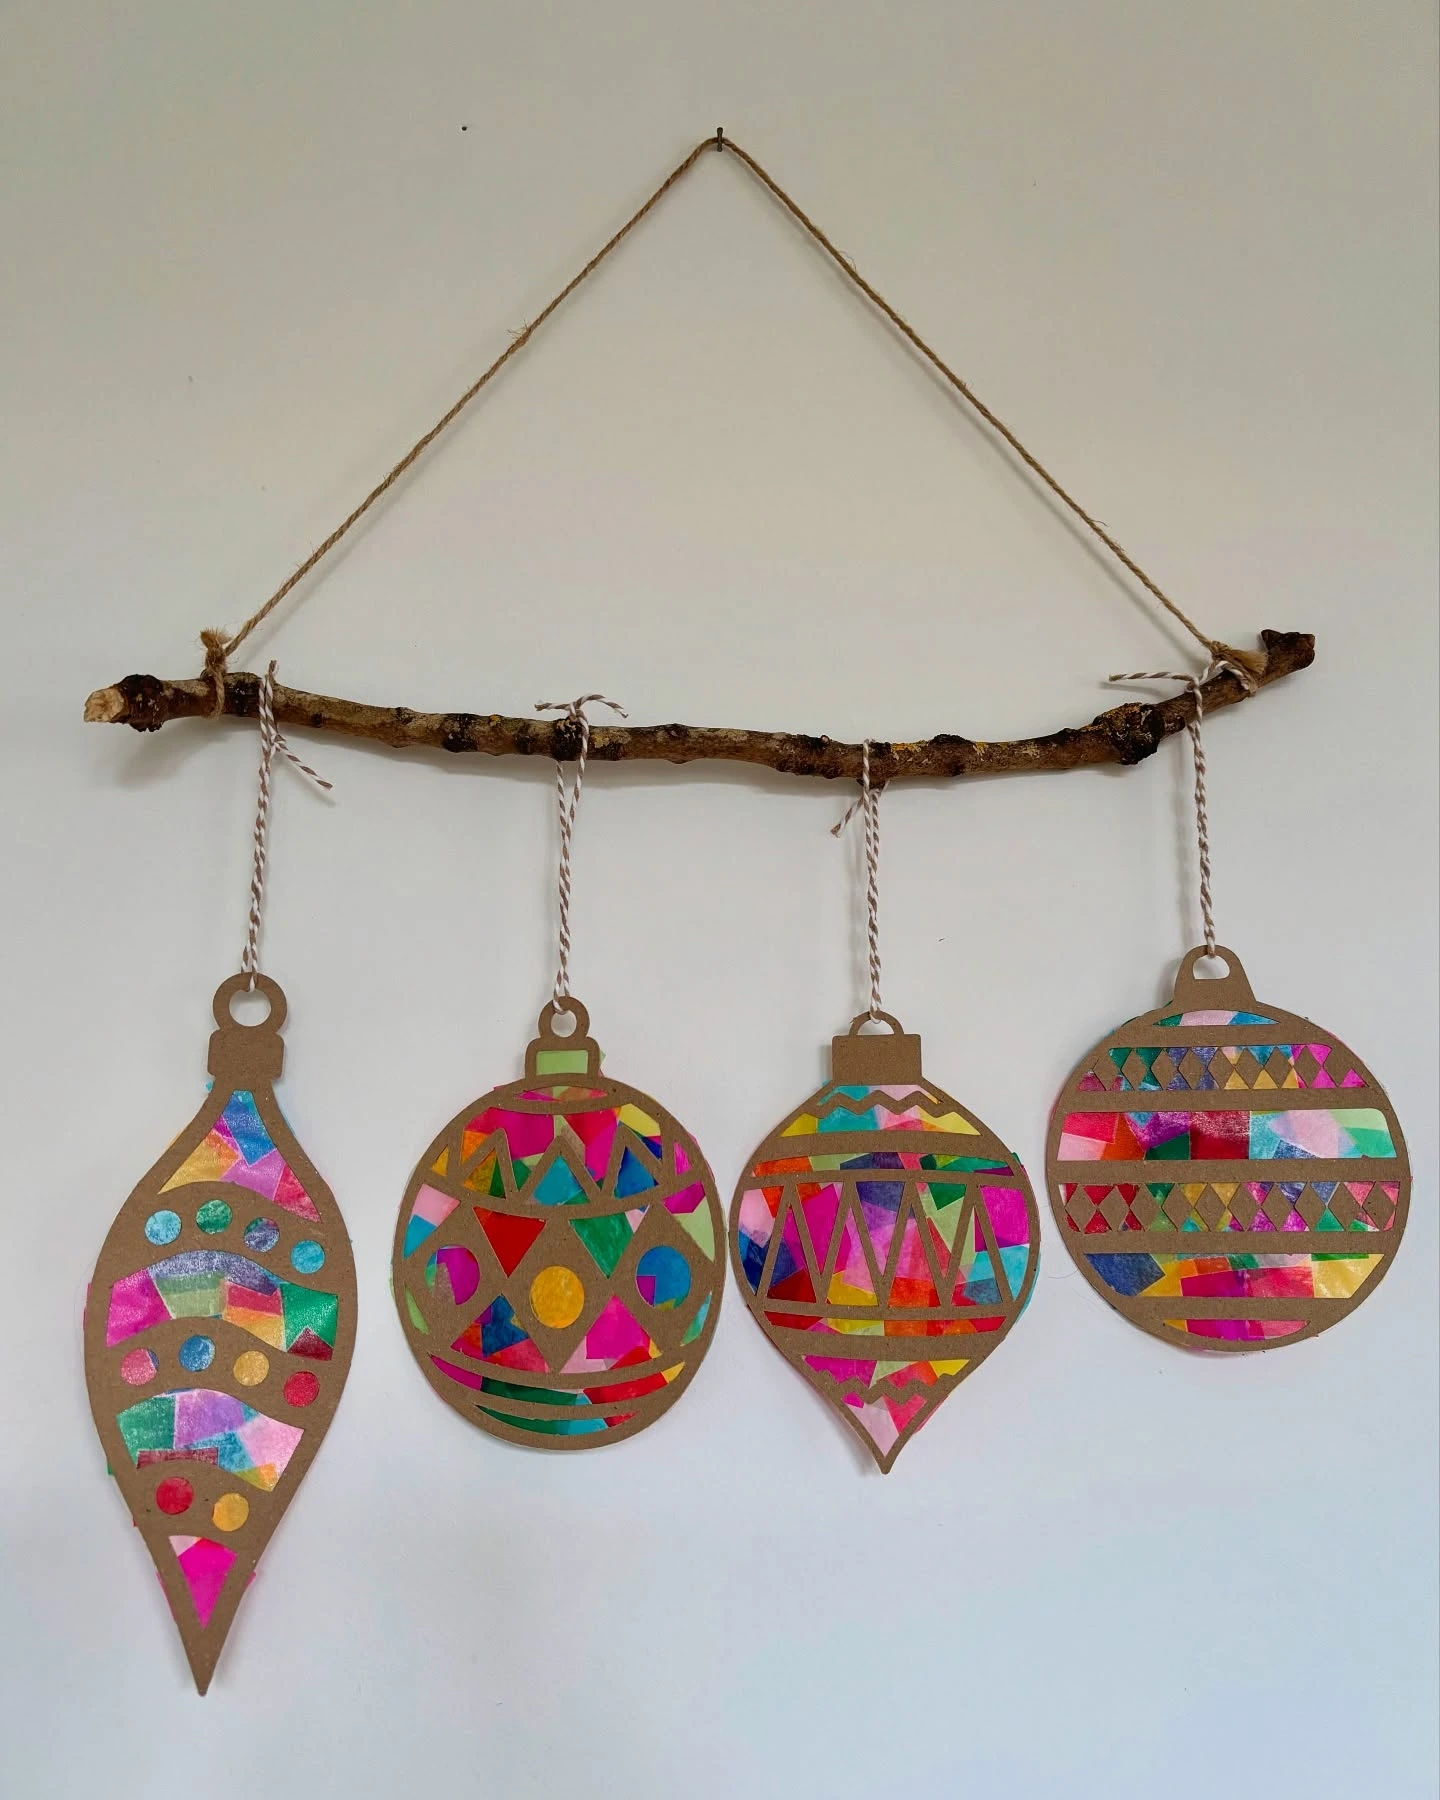
4- Hang Painted Ornaments from a Branch
Painted cardboard ornaments become a simple hanging display when suspended from a small branch.
String and beads add length and texture, while the branch gives several small crafts one clear visual anchor.
This arrangement works well when you want to display children’s projects together without covering a whole wall.
- Cardboard ornament shapes
- Paint
- Markers
- String
- Beads
- Small branch
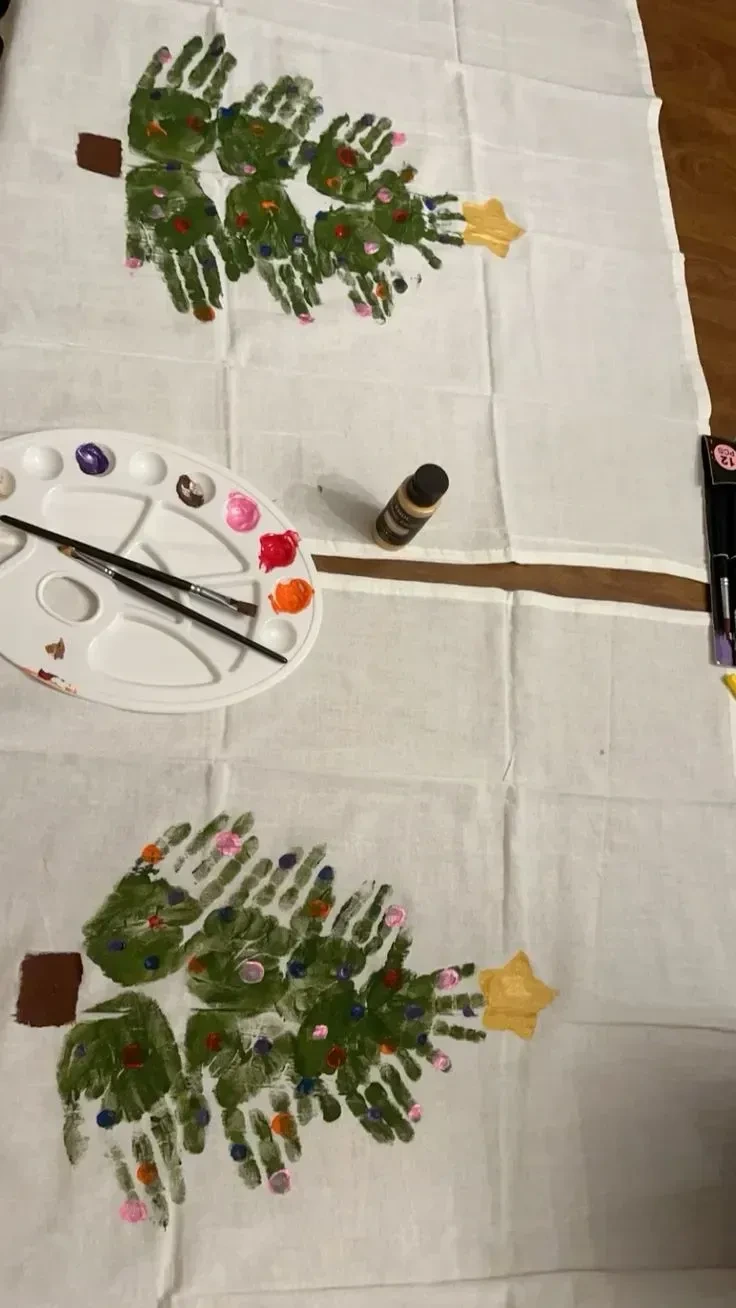
5- Print Handprint Trees on Fabric
Green handprints turn a plain tea towel or piece of fabric into a homemade holiday keepsake.
Yellow stars bring a bright detail above each tree, while painted trunks help the handprints read as complete little trees.
Spacing the prints carefully keeps the design calm and usable after the paint dries.
- Plain tea towel or fabric
- Green paint
- Yellow stars
- Brush
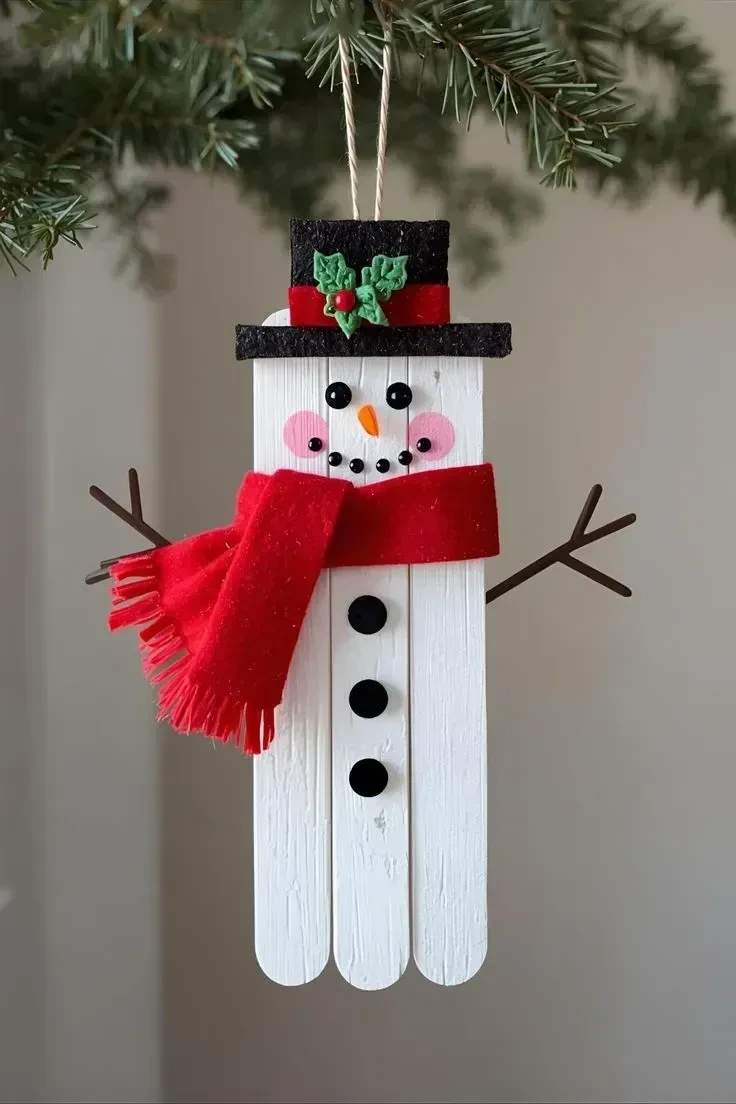
6- Assemble a Popsicle Stick Snowman
Popsicle sticks give this snowman a sturdy base that works well as a small ornament.
White paint creates the snowy face, while a red fabric scarf, black buttons, and paper arms add contrast.
Paint the sticks first and wait until they are dry before adding the scarf and other details.
- Popsicle sticks
- White paint
- Red fabric scarf
- Black buttons
- Paper arms
- String
7- Decorate Pipe Cleaner Tree Ornaments
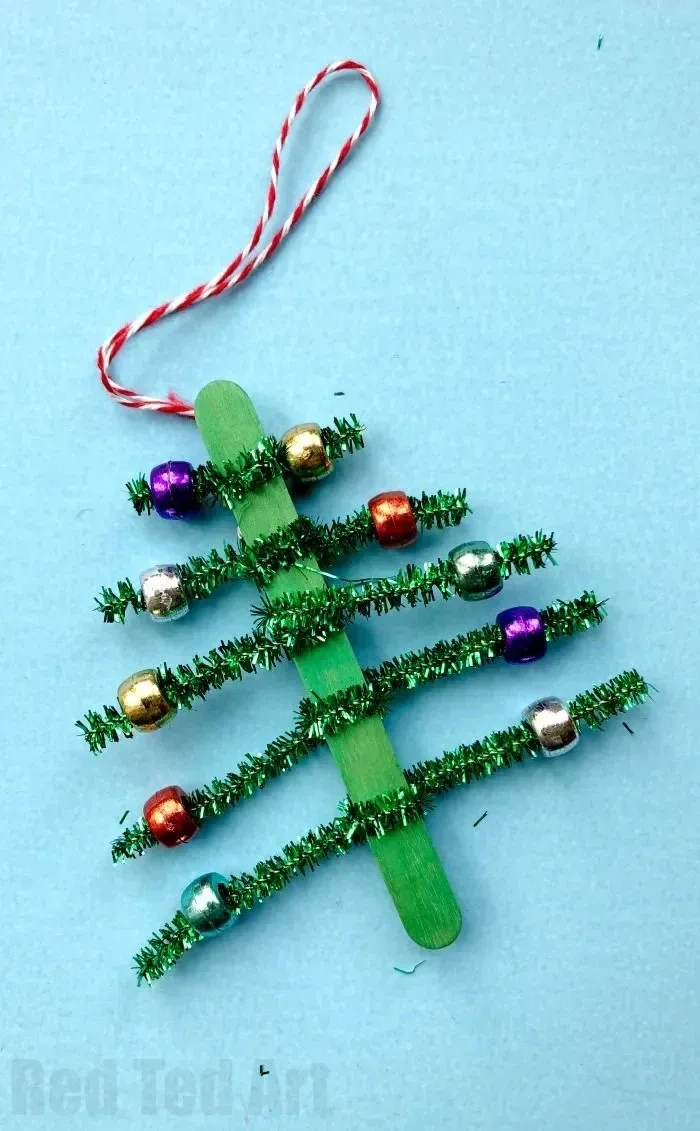
Green pipe cleaners bend into a compact tree shape, making a lightweight ornament with plenty of texture.
Colorful beads act like tiny decorations and bring bright spots across the green surface.
Shape the pipe cleaners before adding beads, then attach the finished tree to a popsicle stick with glue.
- Green pipe cleaners
- Colorful beads
- Popsicle stick
- Glue
- String
8- Build Santa’s Reindeer Sleigh
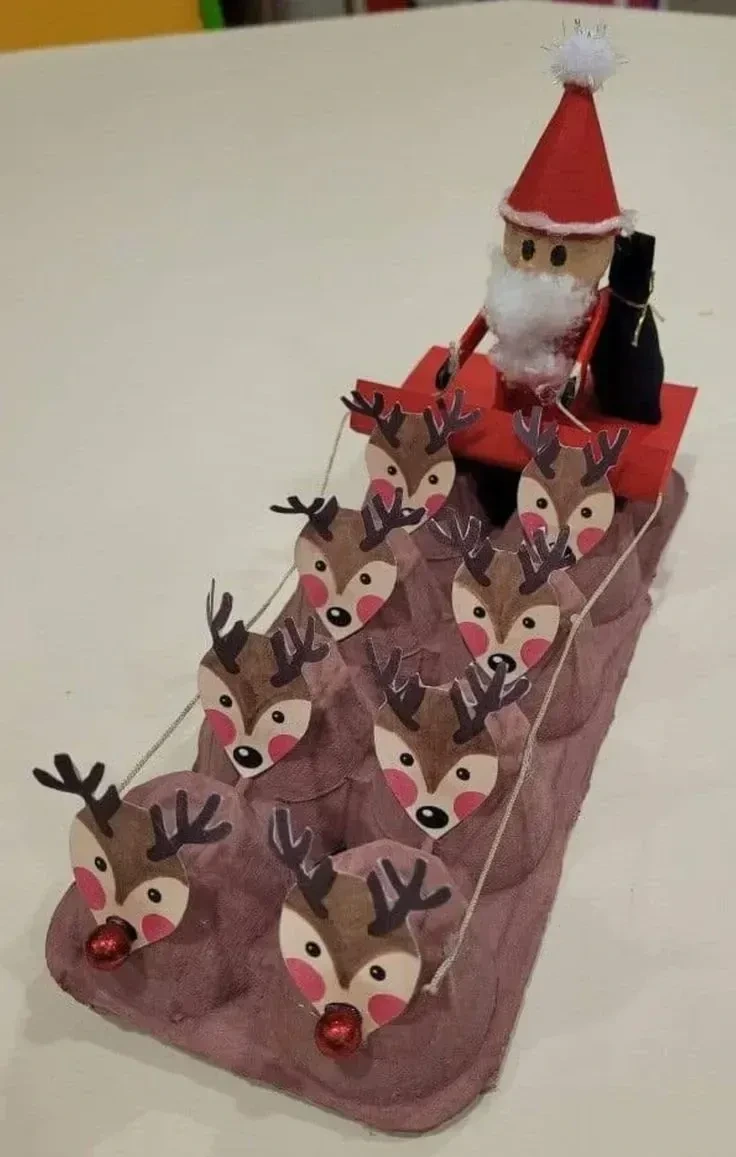
An egg carton forms the sleigh base, with one Santa piece at the top and a group of reindeer faces arranged in front.
Giving each reindeer its own face adds personality and makes the row feel like a little team pulling the sleigh.
Make the faces first, then arrange them together before attaching the pieces.
- Paper reindeer faces
- Red pom poms
- Egg carton
- Santa piece
9- Make Wishing Nature Wands
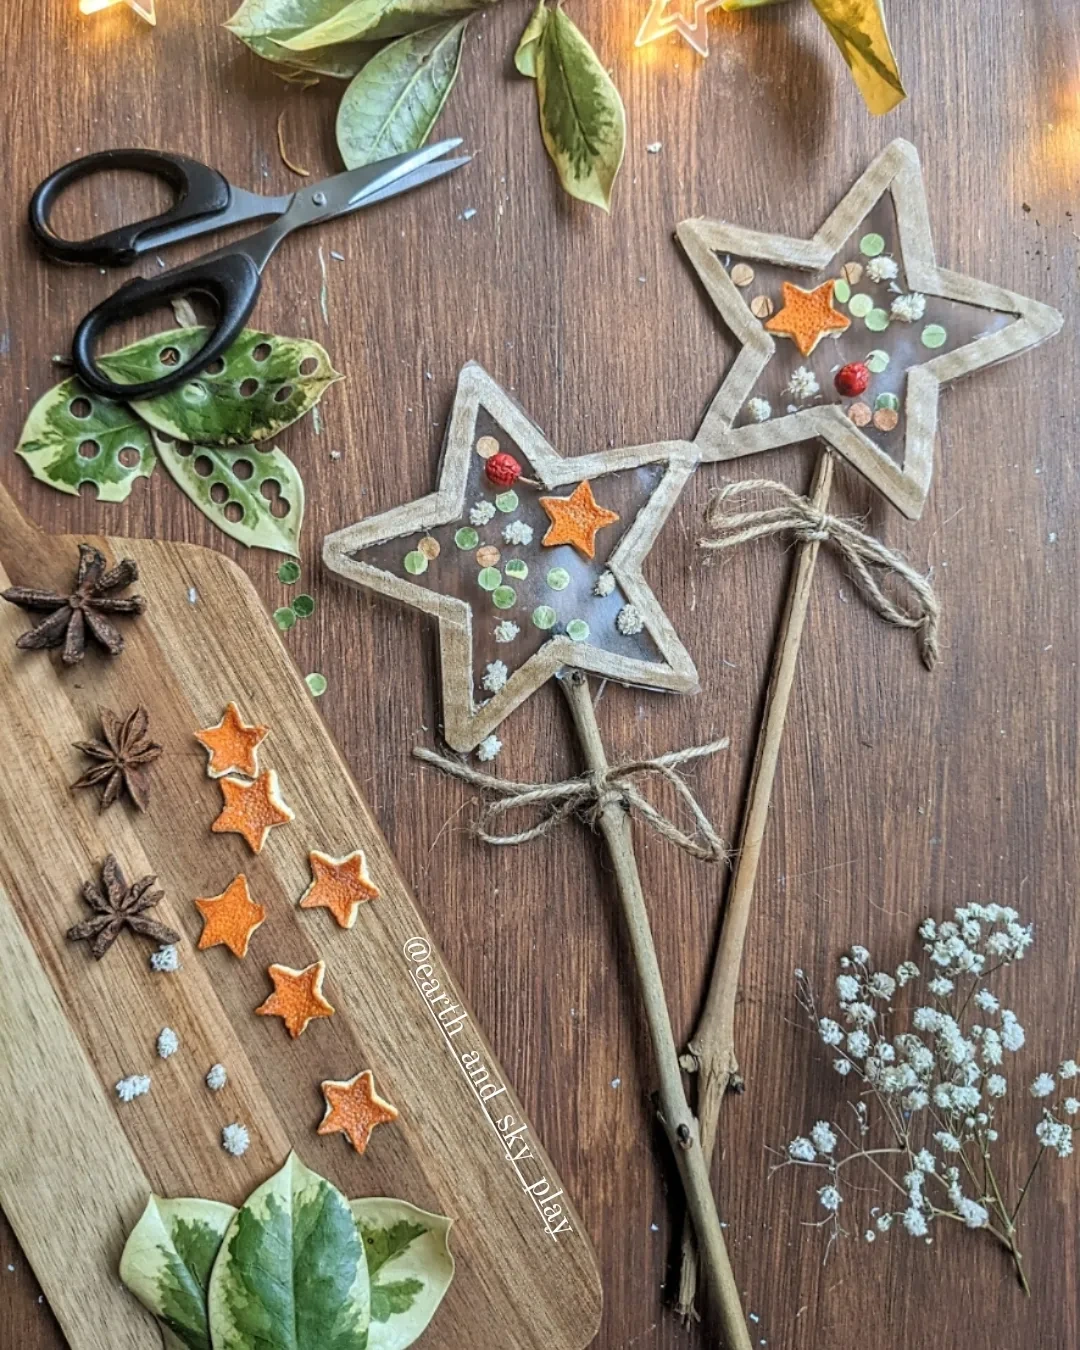
Sticks, cardboard stars, dried flowers, twine, and little beads bring natural texture to a Christmas craft.
The mix of rough sticks and delicate decorations gives each wand a different look without needing a large supply list.
Collect the sticks outside first, then set up a decorating station indoors.
- Sticks
- Cardboard stars
- Twine
- Dried flowers
- Little beads
- Glue
10- Link a Paper Chain Garland
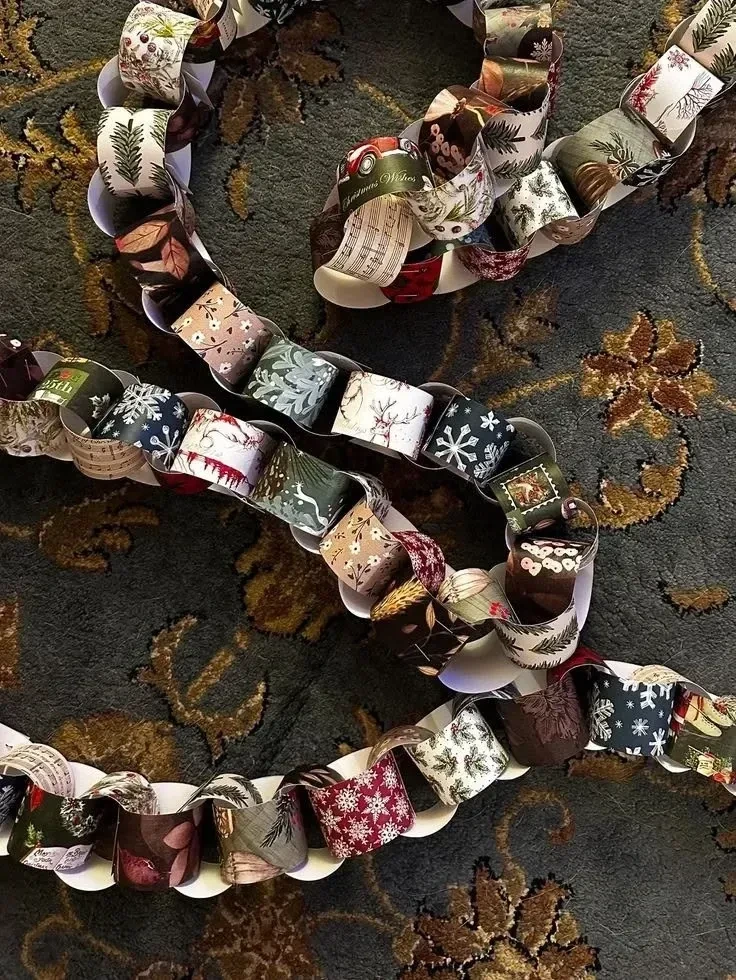
Patterned paper strips quickly become a colorful garland when looped together with tape or glue.
Repeating rings create rhythm across a wall, mantel, or doorway, while wider strips are easier for younger children to handle.
A little patience helps each loop sit neatly beside the next one.
- Patterned paper strips
- Tape or glue
11- Craft a Reindeer Wall Display
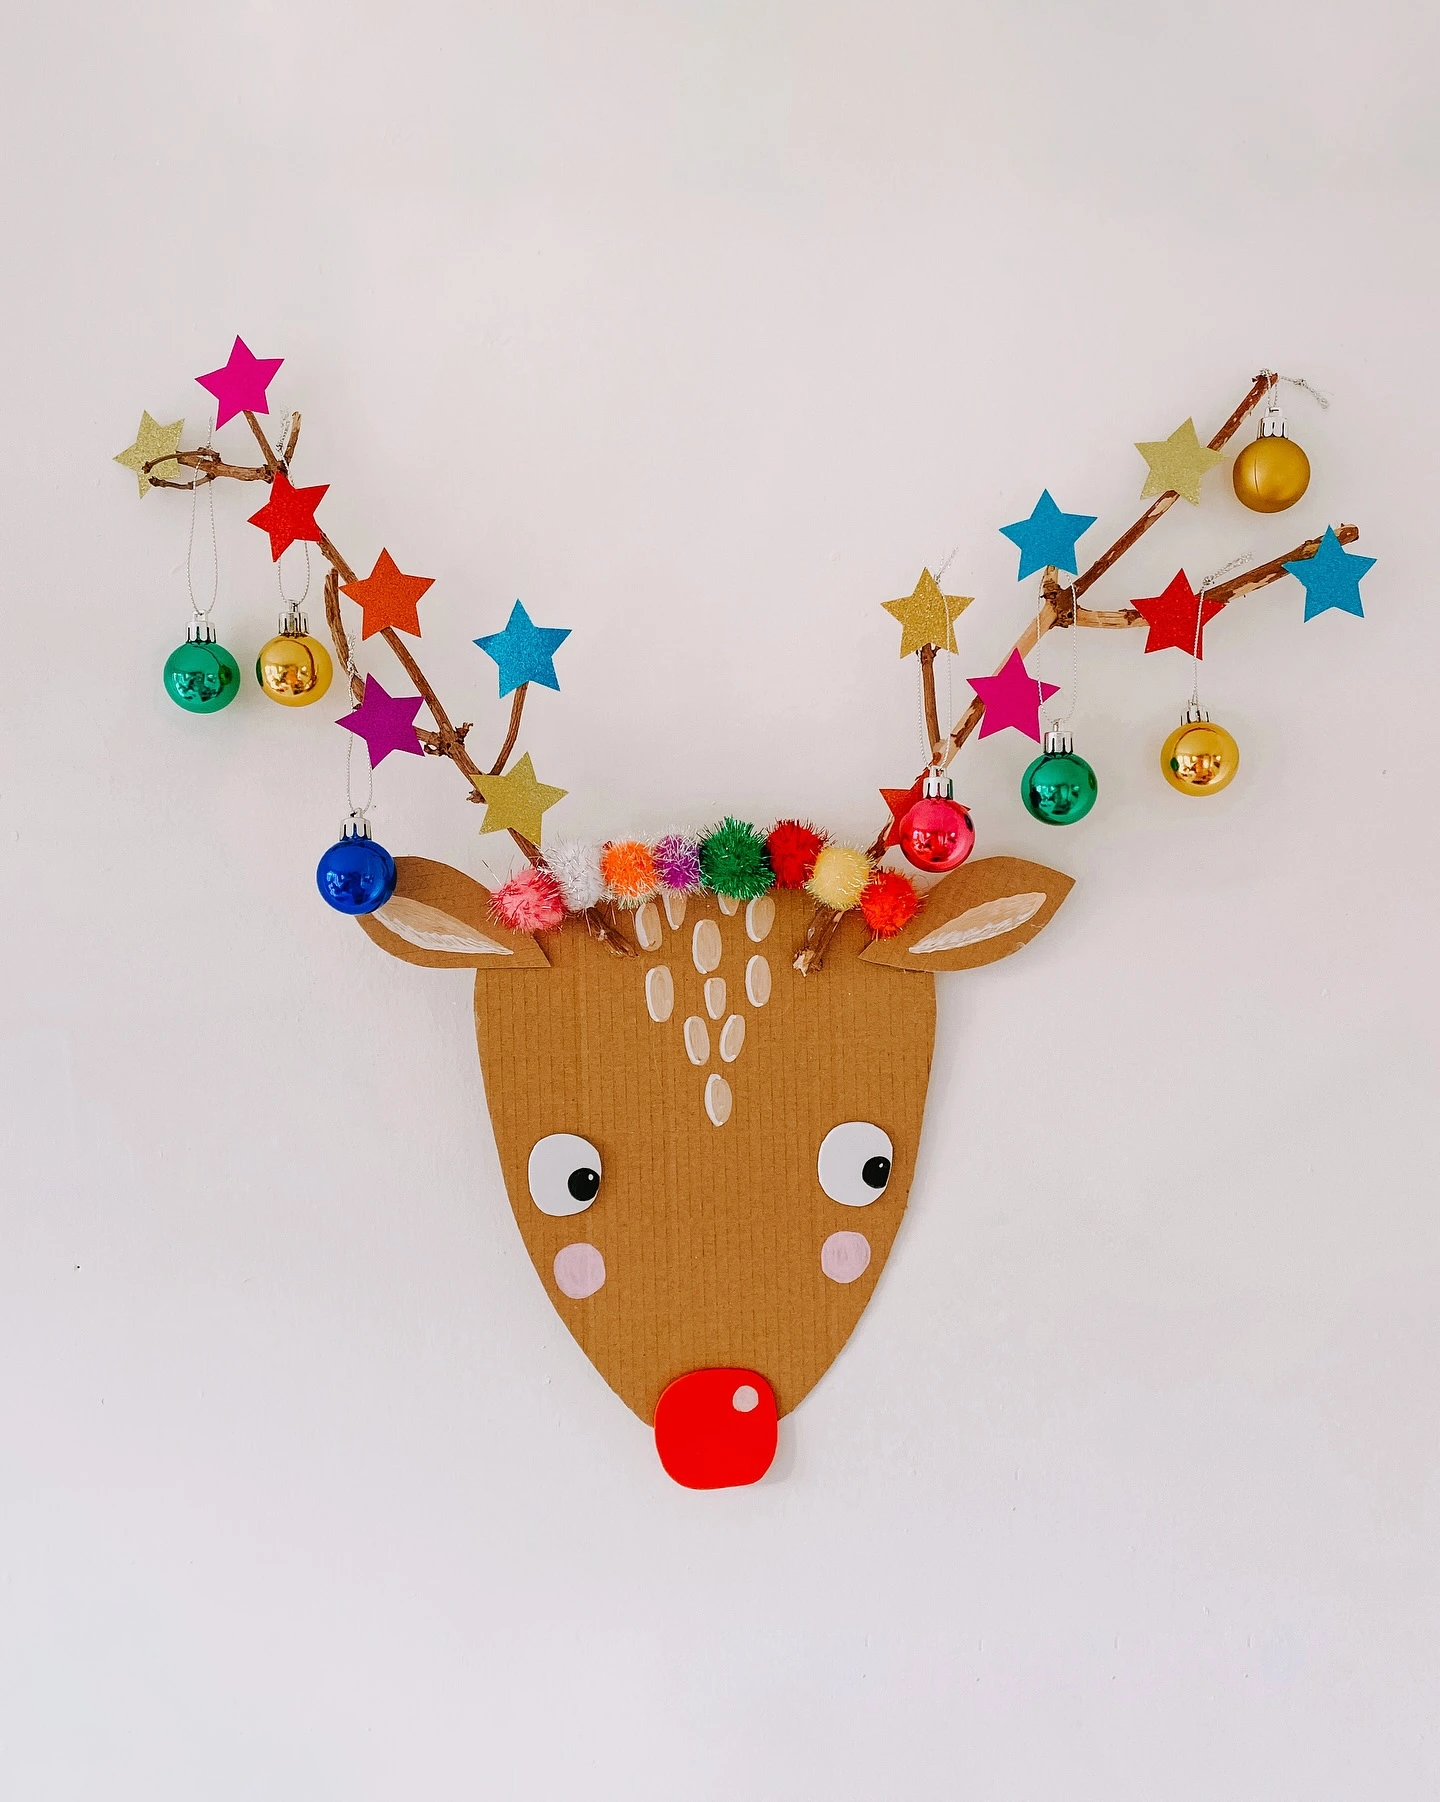
Brown paper forms the reindeer, but the antlers are where children can add their own style.
Paper stars, pom poms, little ornaments, glue, and a red nose create a cheerful mix of shapes and textures.
More Ideas to Love
Several different reindeer can work especially well as a classroom wall display because the variations become part of the charm.
- Brown paper
- Paper stars
- Pom poms
- Little ornaments
- Glue
- Red nose
12- Wrap Cardboard Tree Ornaments
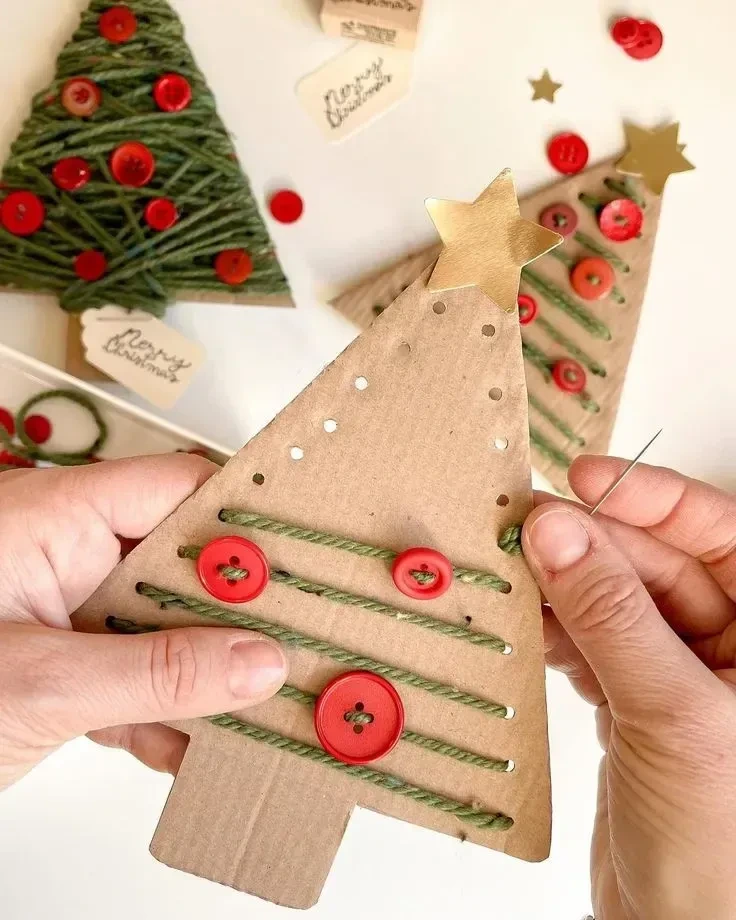
Cardboard tree shapes gain warmth and texture when wrapped with yarn.
Buttons and wood stars add small raised details, so the ornament looks finished without needing lots of extra decoration.
String turns the completed trees into pieces that can hang on a tree or from a seasonal display.
- Cardboard tree shapes
- Yarn
- Buttons
- Wood stars
- Glue
- String
13- Personalize Photo Train Ornaments
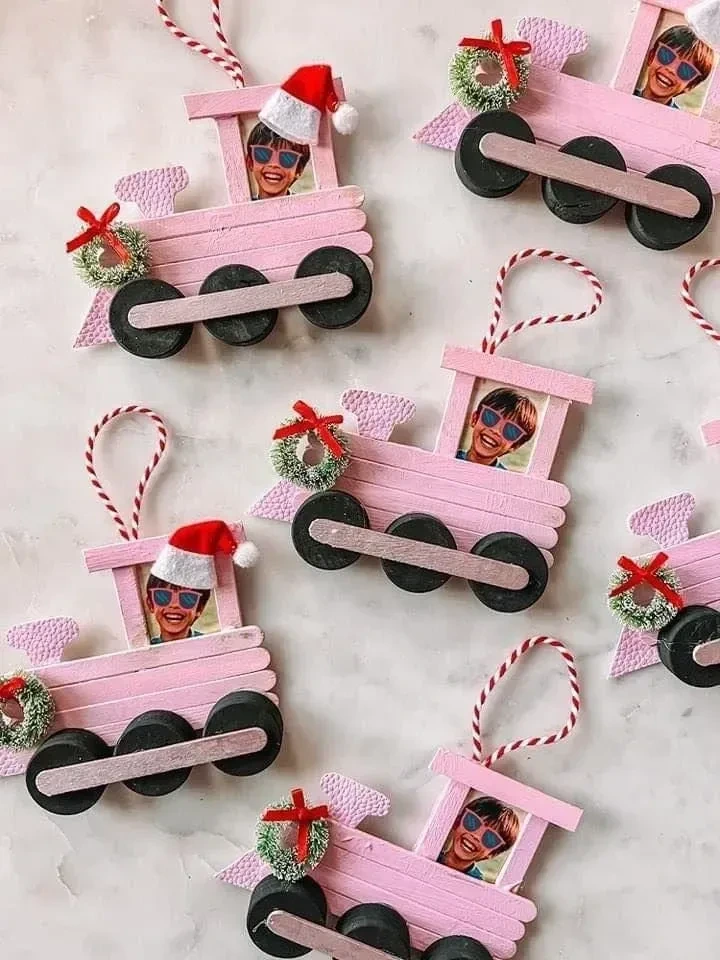
Craft sticks create the train structure, while a small photo gives the ornament a personal keepsake quality.
Paint, pipe cleaners, paper wheels, and ribbon add clear train details without making the photo compete with the design.
Cut the photo to fit inside the train before gluing the pieces down.
- Craft sticks
- Paint
- Small photos
- Pipe cleaners
- Paper wheels
- Ribbon
14- Layer a Tinsel Tree Ornament
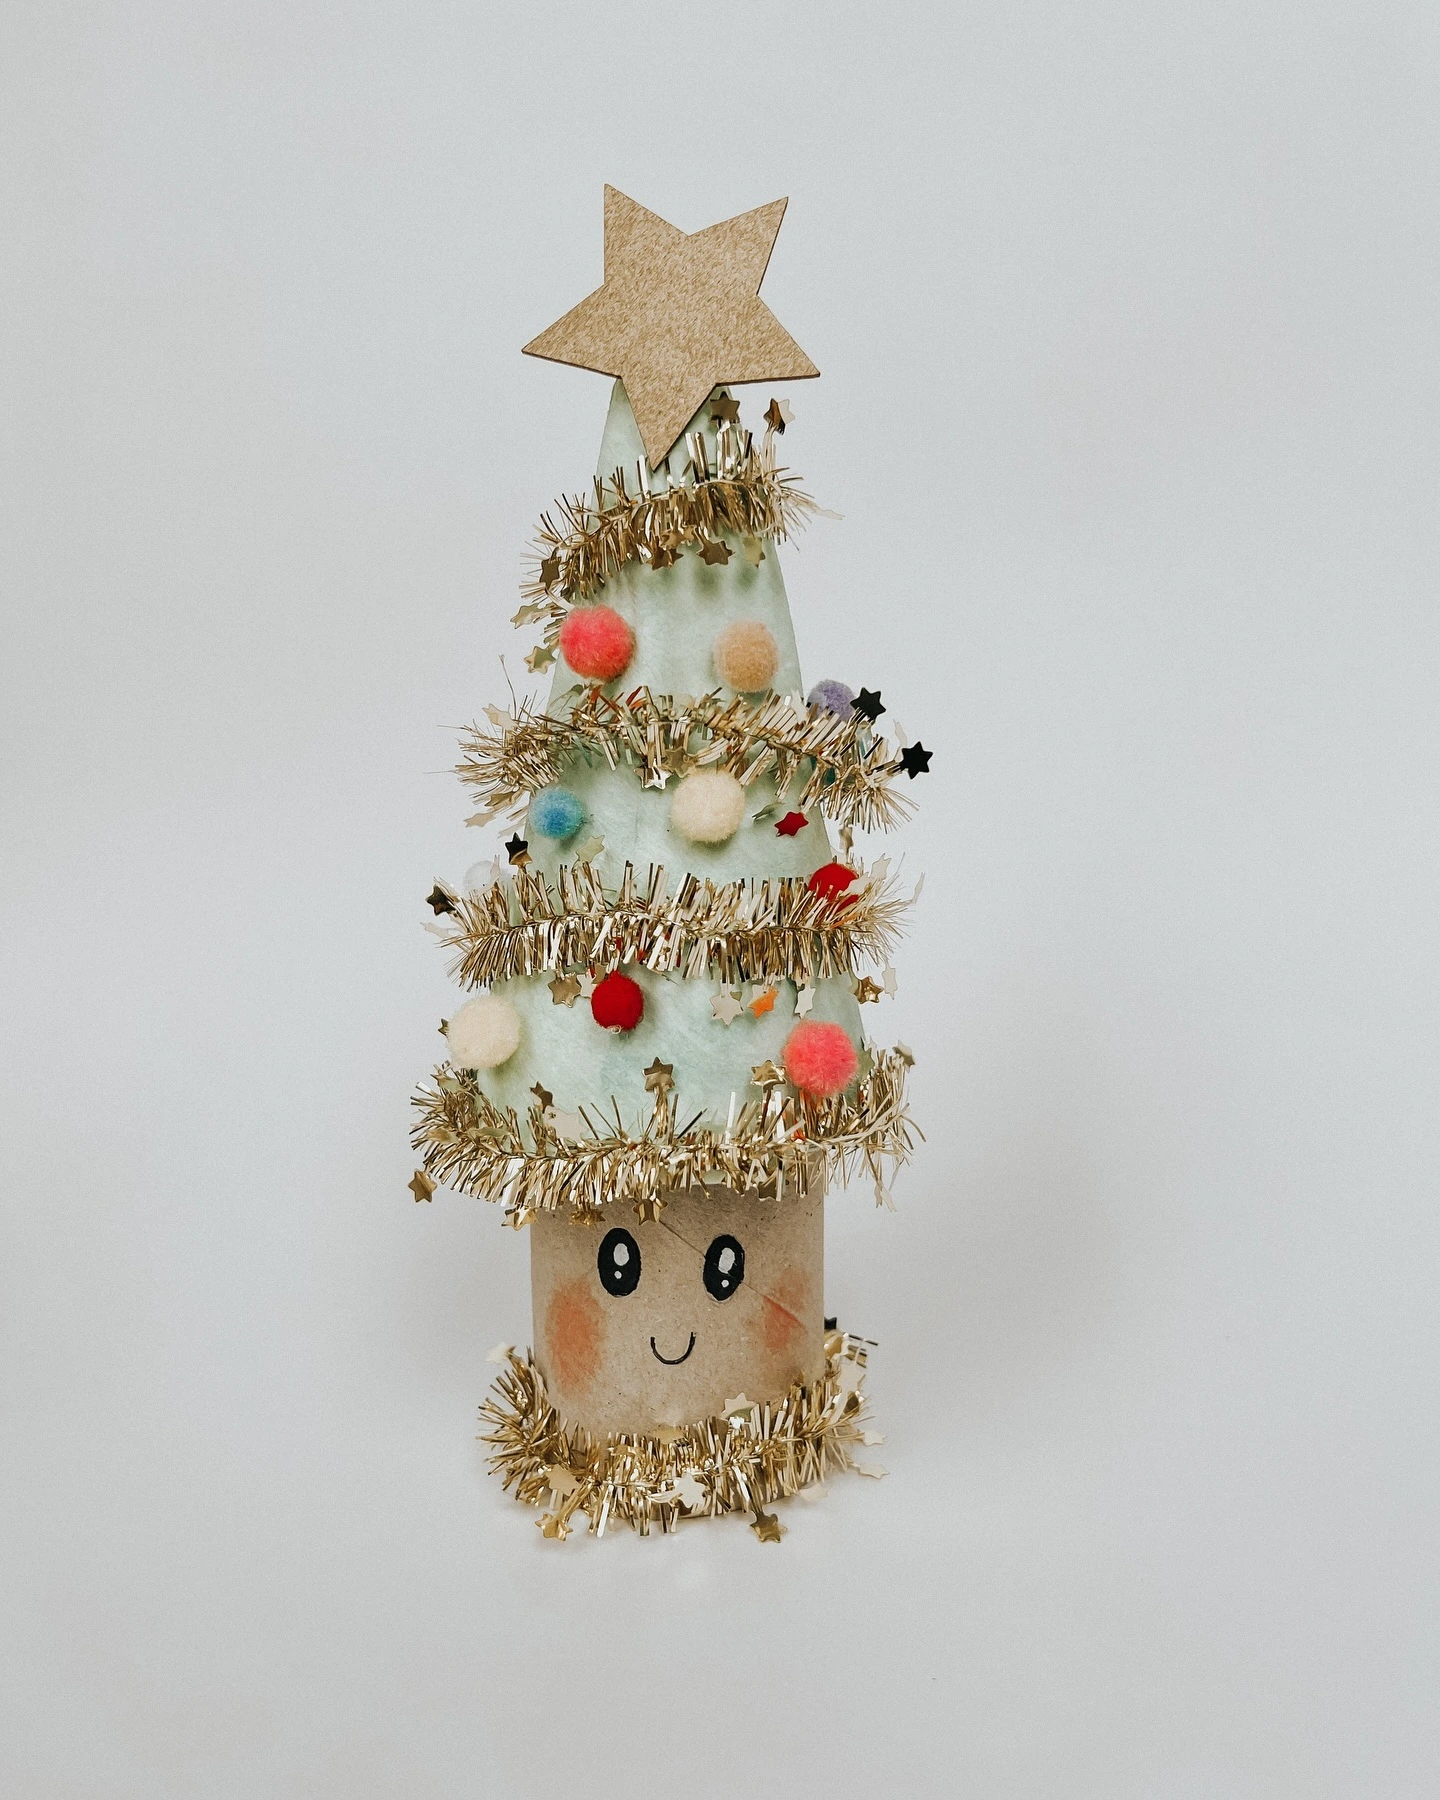
A small wood slice or cardboard base gives this ornament a firm surface for tinsel, pom poms, and a star.
Layering the tinsel makes the tree look fuller and adds a soft, shiny texture against the solid base.
String at the top keeps the finished piece ready for hanging.
- Small wood slice or cardboard base
- Tinsel
- Pom poms
- Star
- String
15- Decorate Pinecone Mini Trees
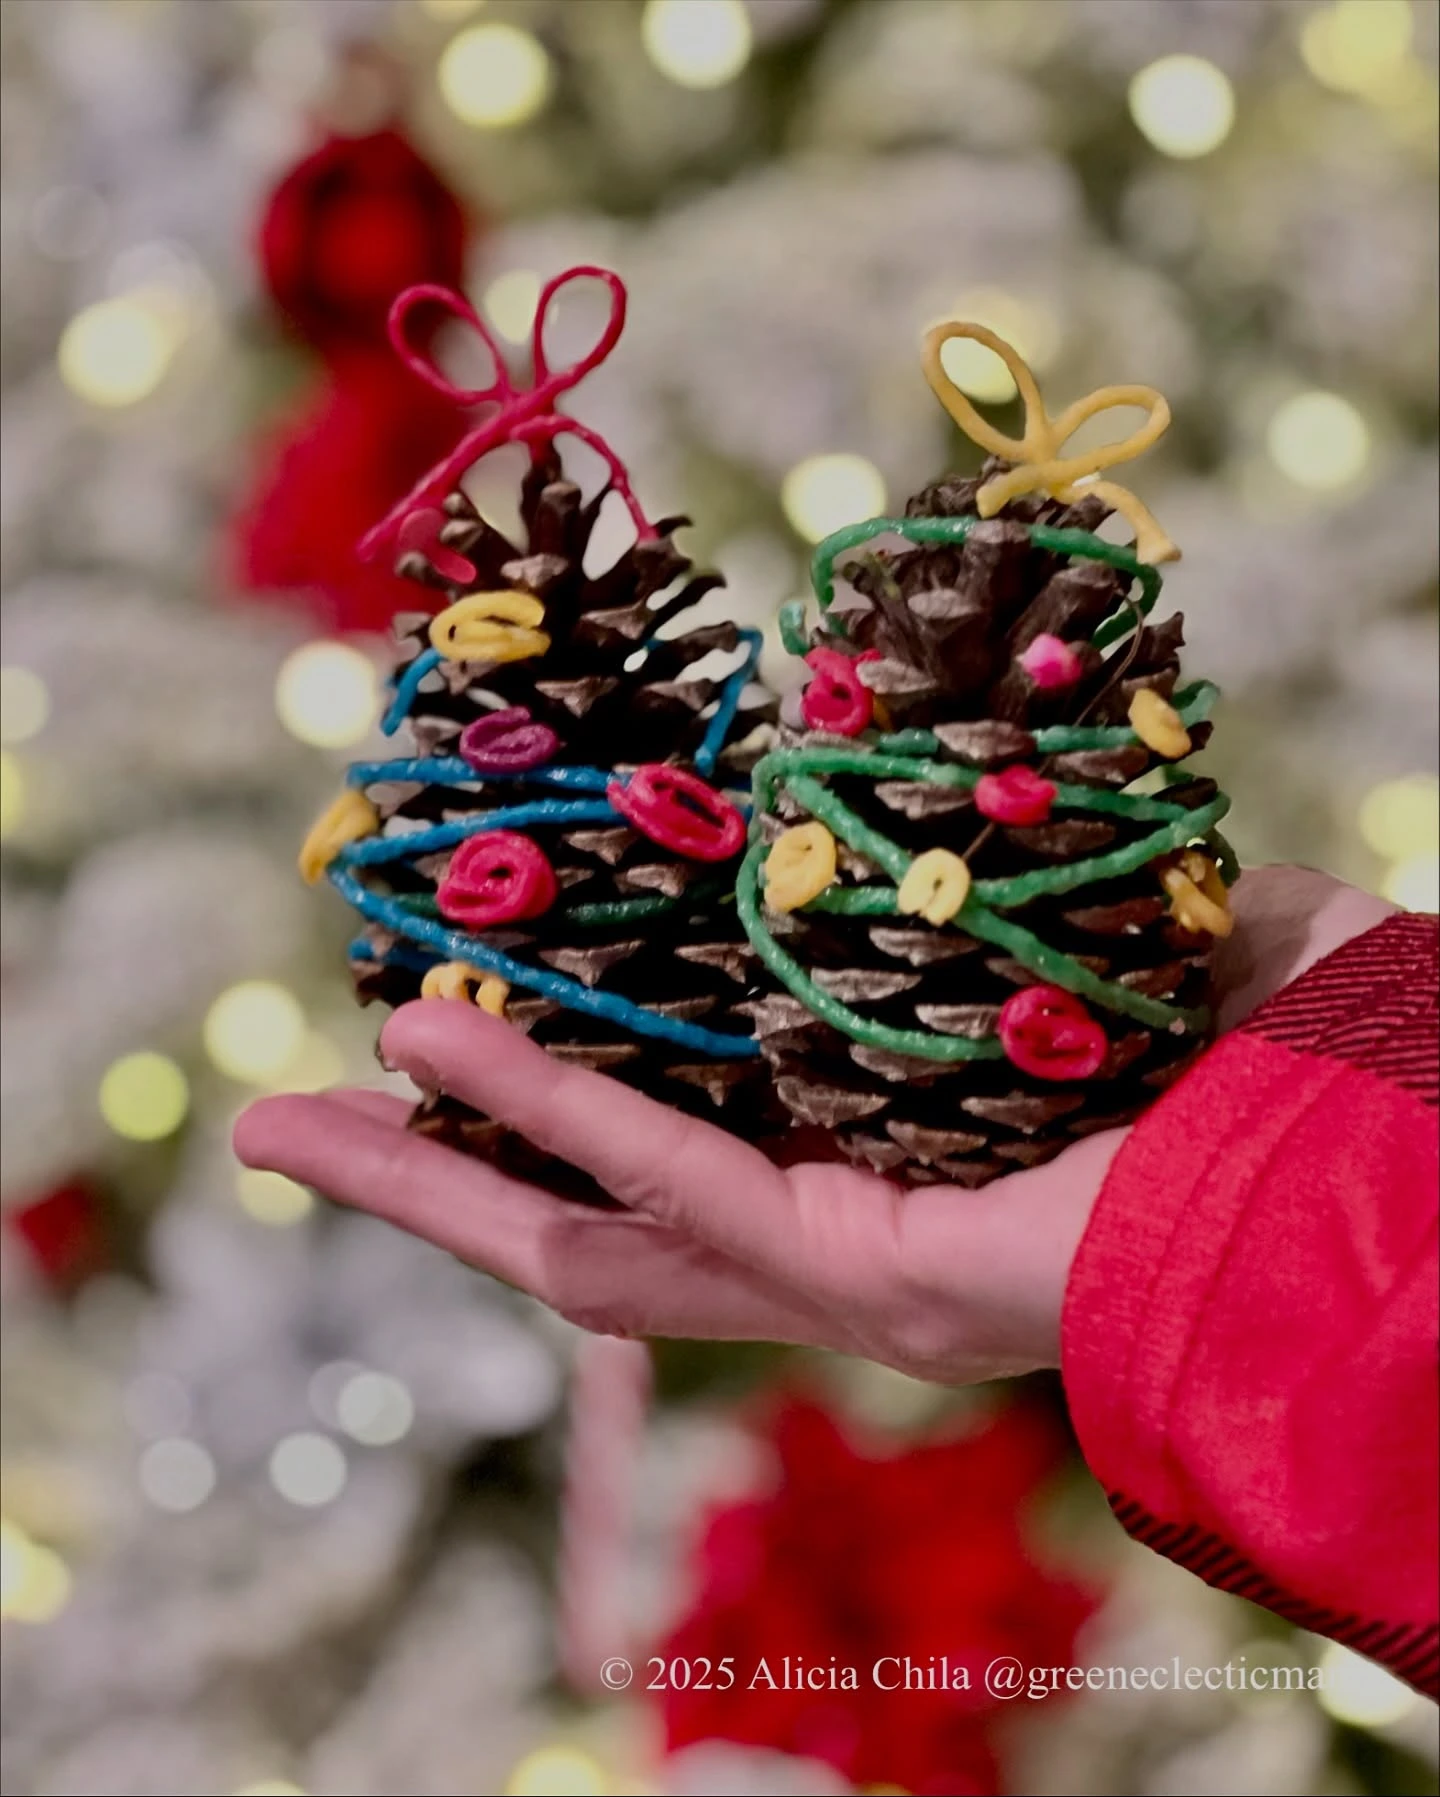
Pinecones already suggest small trees, and green paint makes that shape even clearer.
Pom poms, ribbon, glue, and small bows add color without hiding the textured pinecone surface.
Paint first and wait until the pinecones are completely dry before adding the decorations.
- Pinecones
- Green paint
- Pom poms
- Ribbon
- Glue
- Small bows
16- Wrap Freestanding Yarn Trees
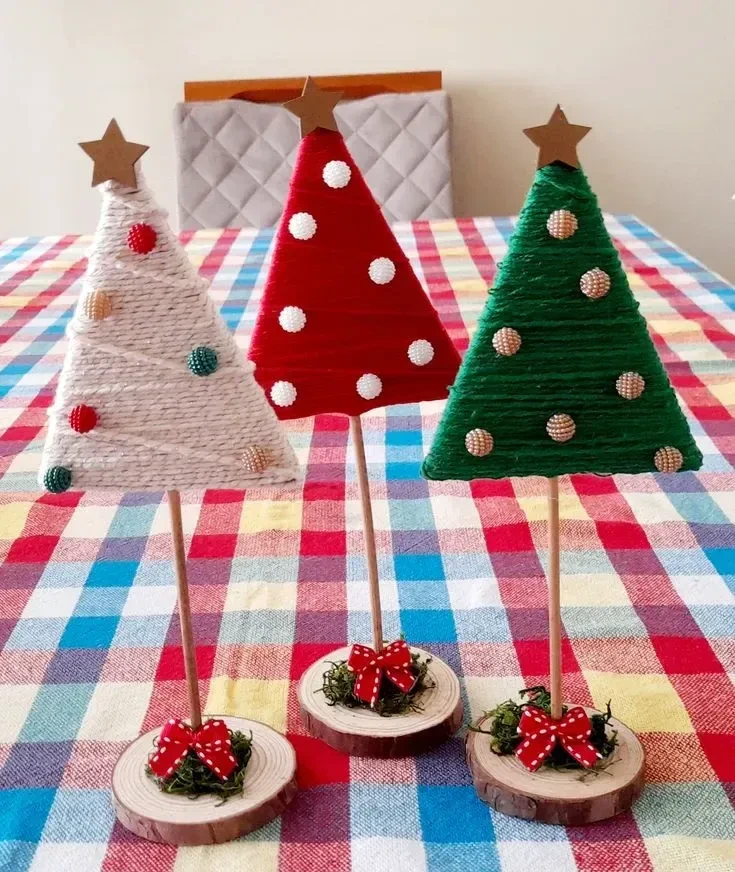
Cardboard or cone shapes give children a structure to cover with yarn, creating small trees with visible texture.
Pom poms, wood slices, sticks, and stars can add color and help the trees stand on a shelf.
Keep the yarn loose enough for children to wrap without frustration.
- Cardboard or cone shapes
- Yarn
- Pom poms
- Wood slices
- Sticks
- Stars
17- Display Mini Paper Ornaments
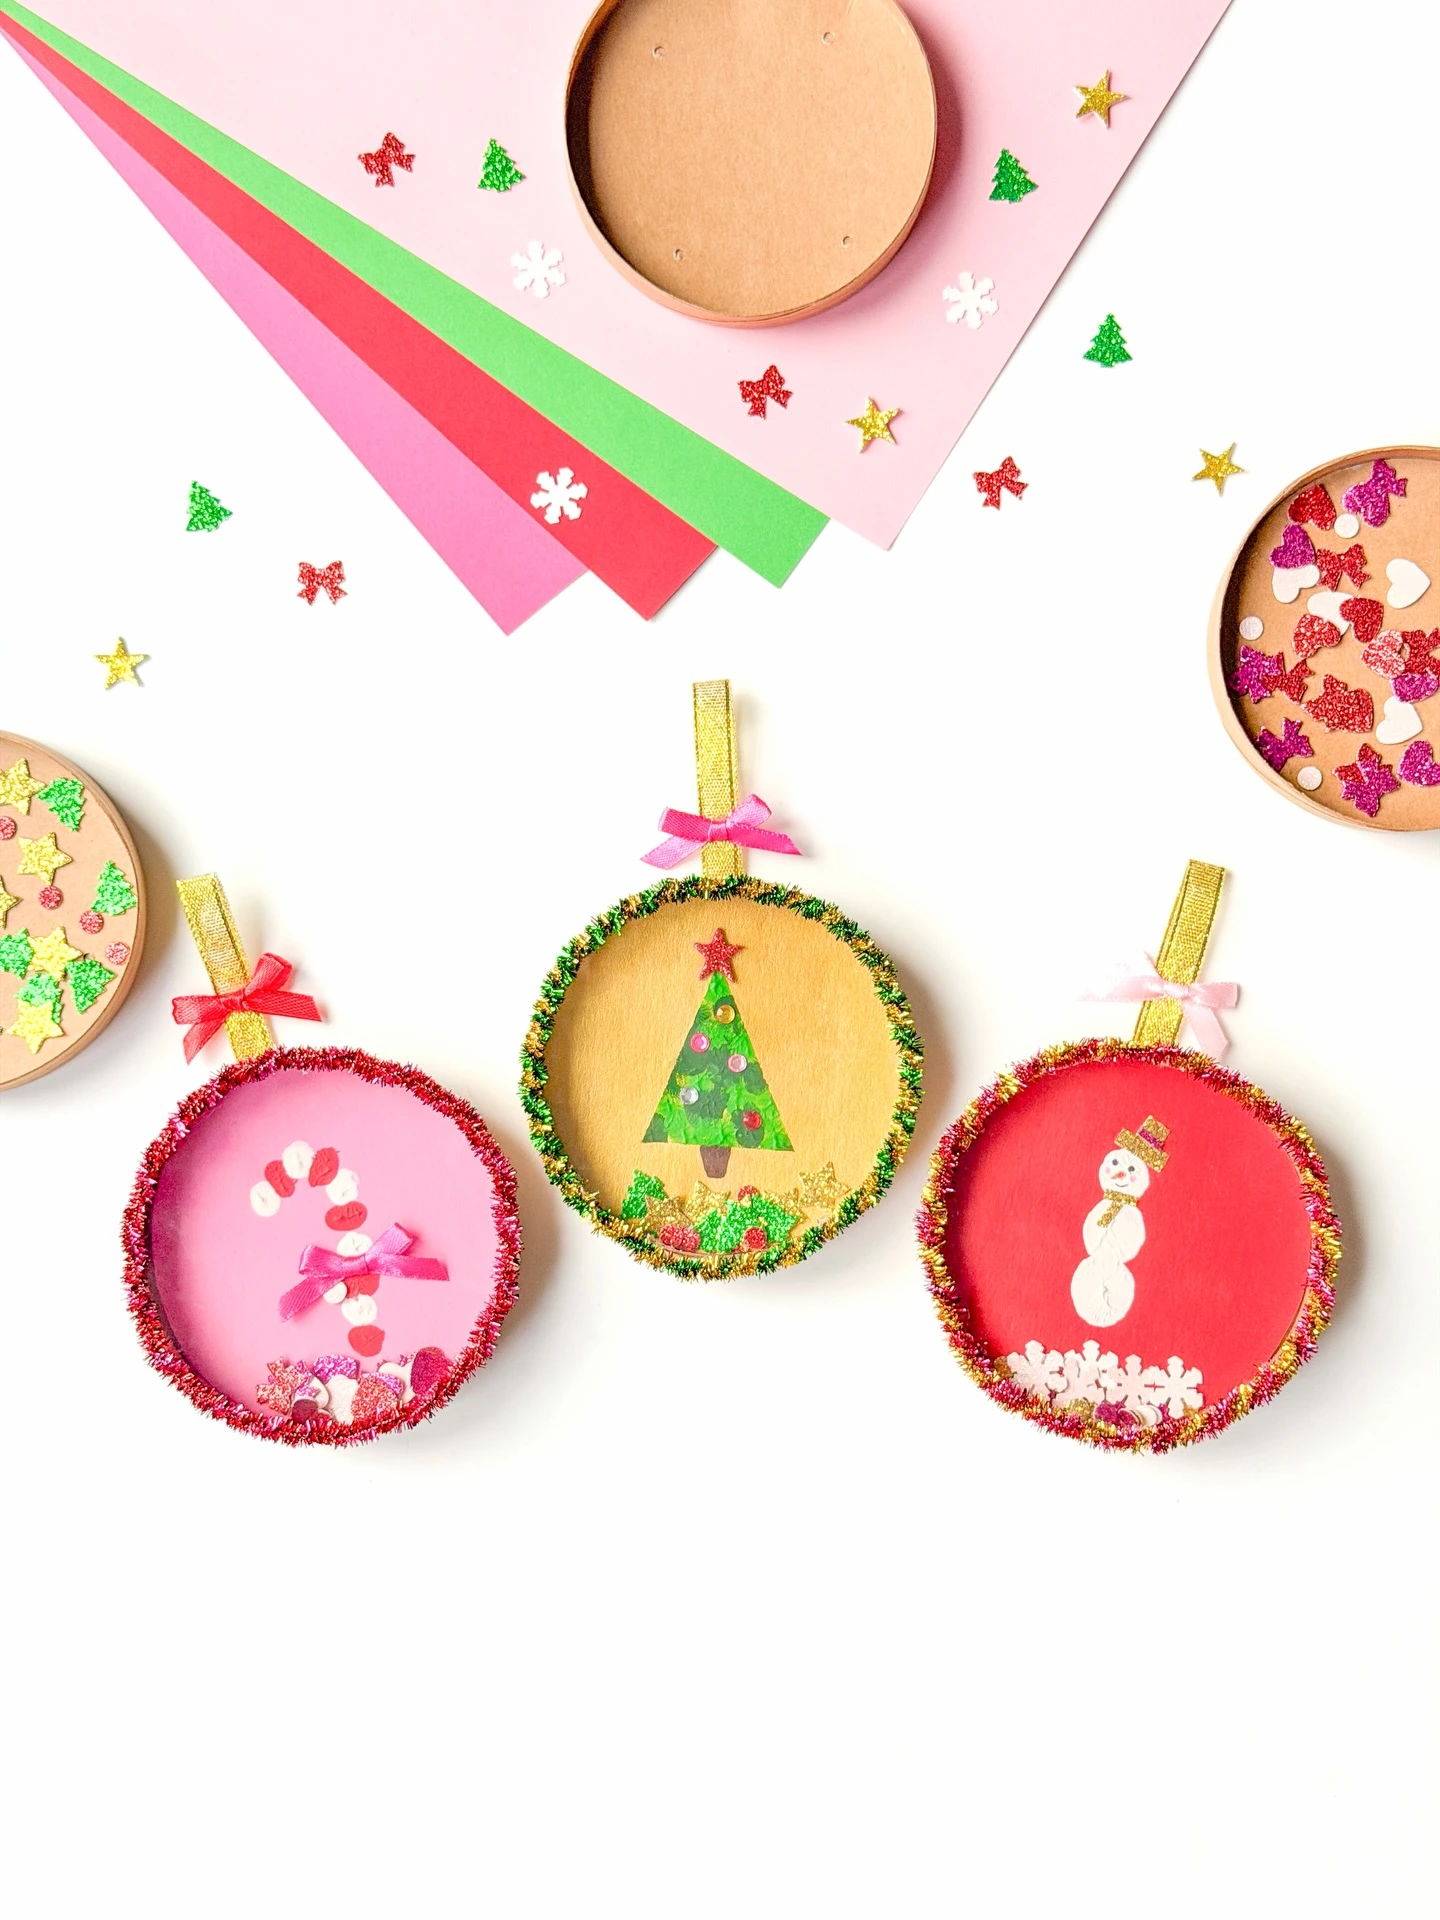
Paper circles become ready-to-hang ornaments with ribbon, glue, confetti, stickers, and small Christmas cutouts.
Bright pink and red bring a playful palette that does not need to match the main tree.
Because the ornaments are small, children can finish them quickly and hang them up straight away.
- Paper circles
- Ribbon
- Glue
- Confetti
- Stickers
- Small Christmas cutouts
18- Paint Paper Plate Snowmen
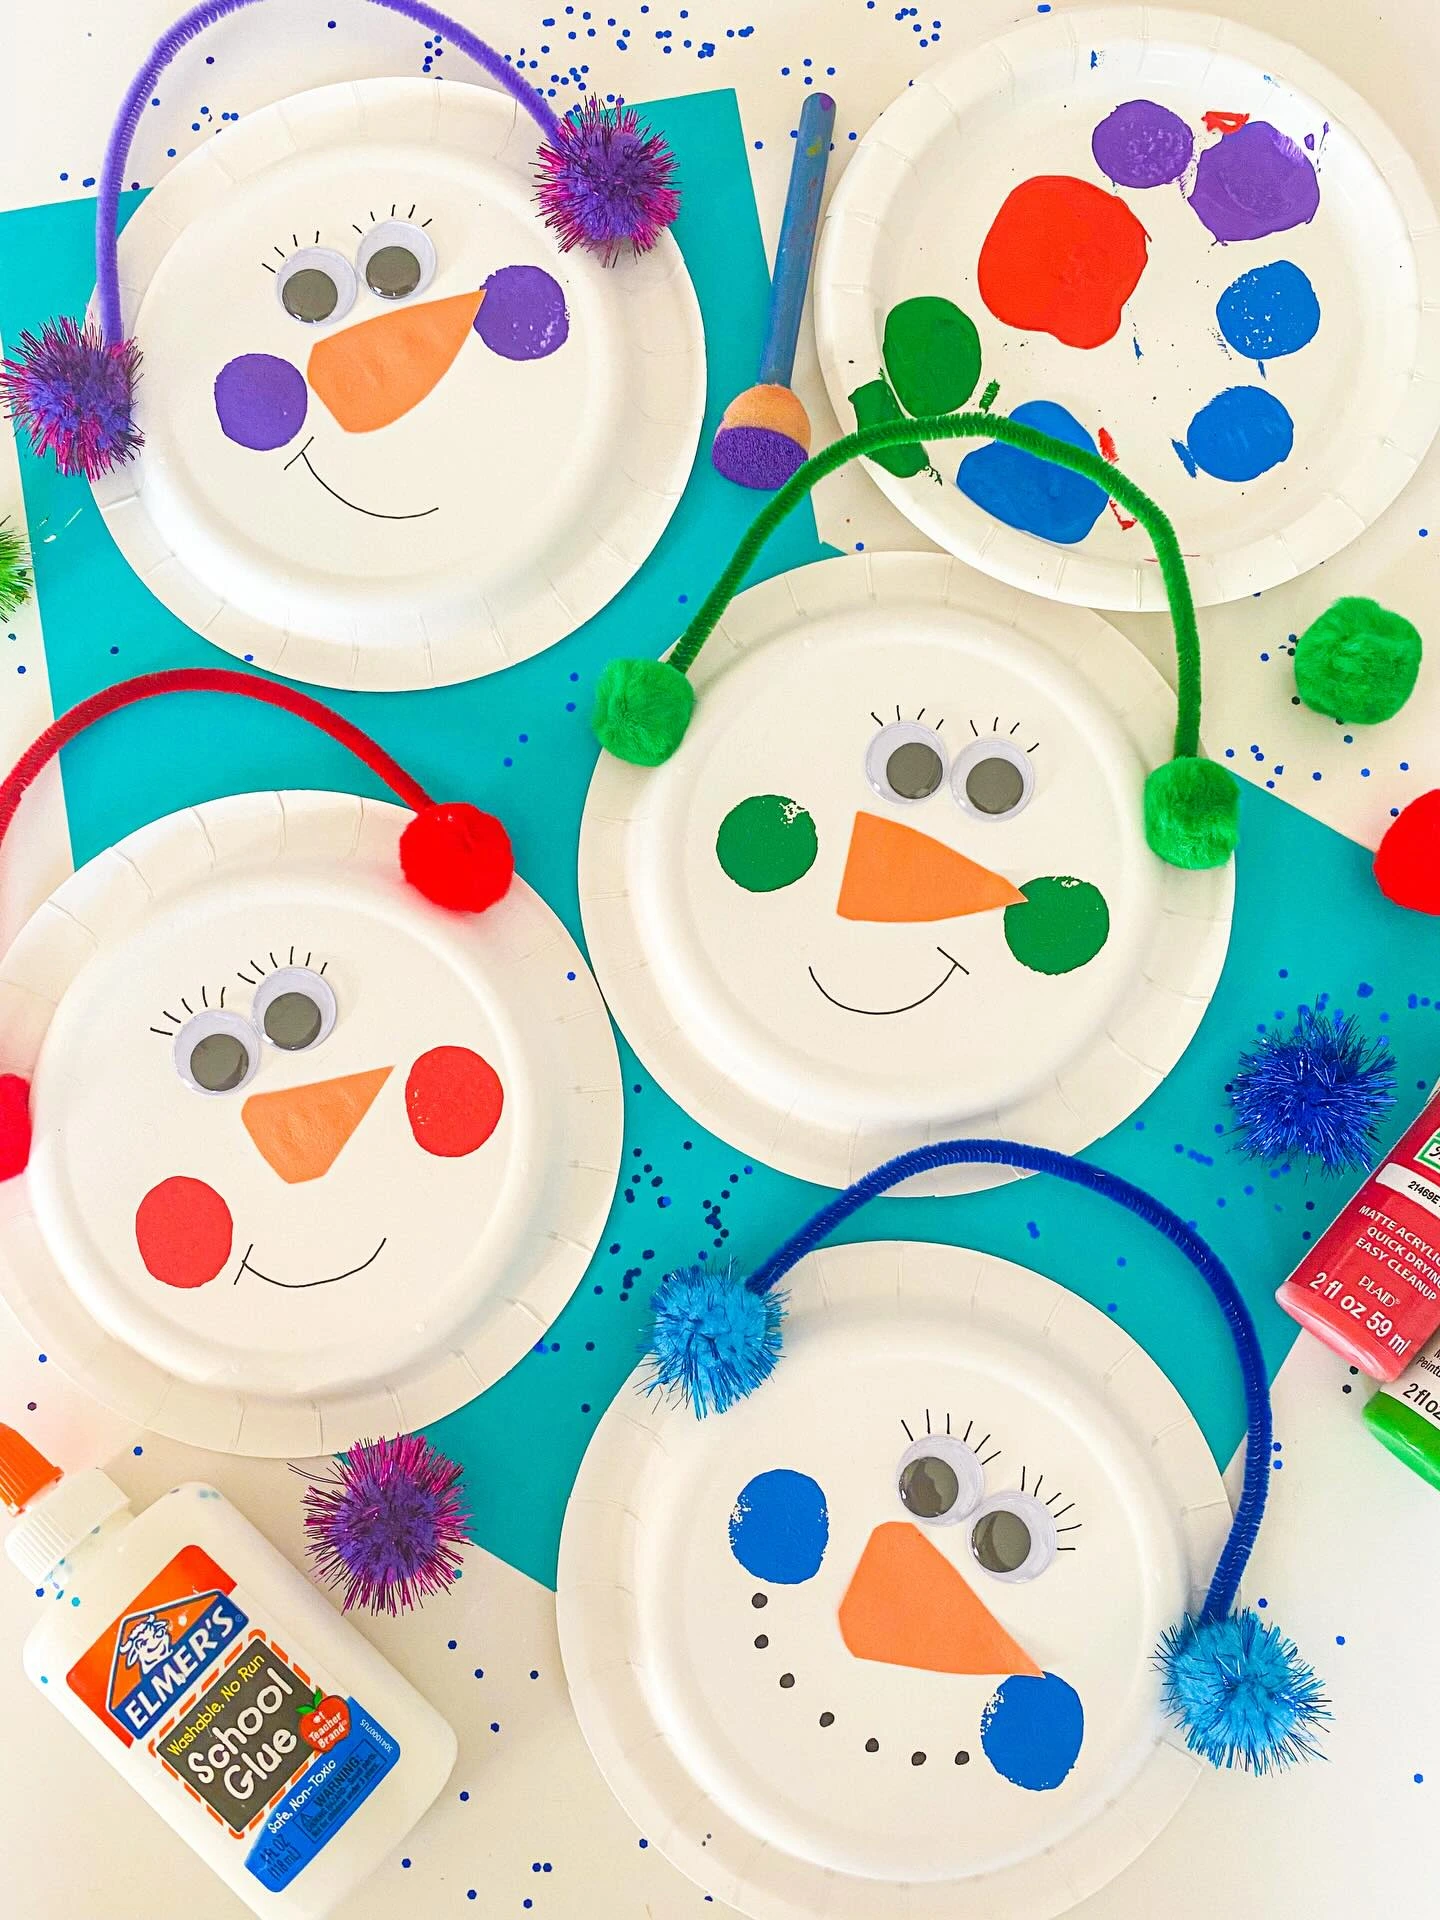
A paper plate gives children a large, round face to decorate, making the snowman shape easy to follow.
Pipe cleaners, pom poms, orange paper, glue, and markers create recognizable features with a mix of soft and flat textures.
Let children choose the earmuff colors so every snowman has its own character.
- Paper plates
- Pipe cleaners
- Pom poms
- Orange paper
- Glue
- Markers
19- Paint Usable Christmas Bookmarks
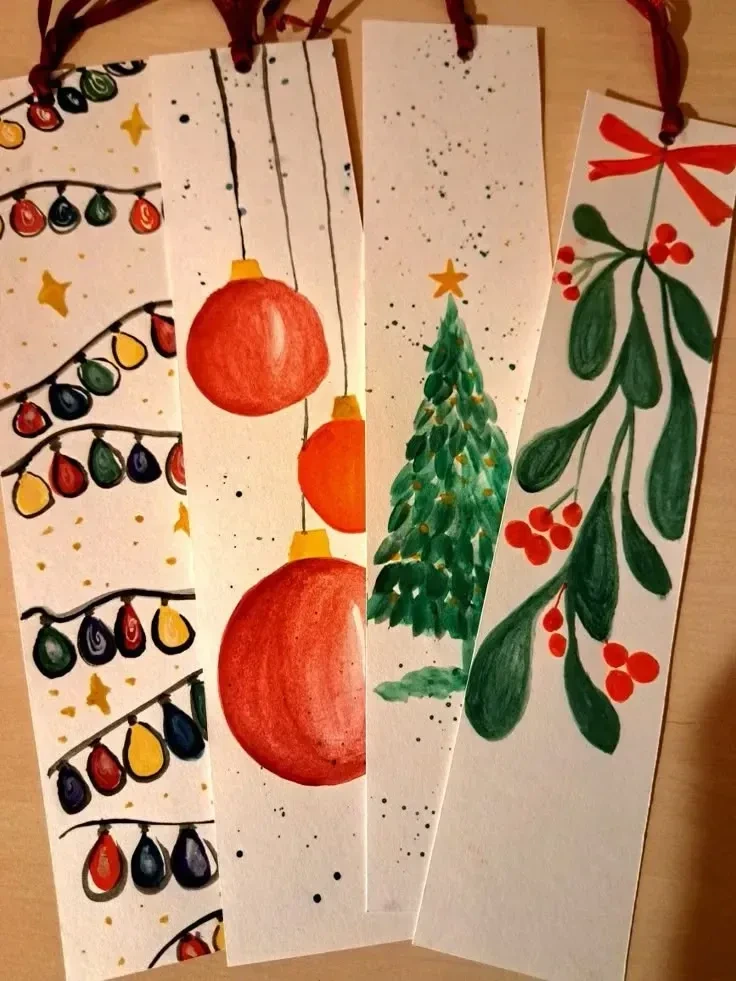
Card strips become useful keepsakes when painted with simple Christmas shapes such as lights, baubles, trees, and mistletoe.
Keep Reading
The long, narrow format keeps the craft practical while giving children room to experiment with color.
Markers can sharpen small details after the paint dries.
- Card strips
- Paint
- Markers
- Christmas shapes
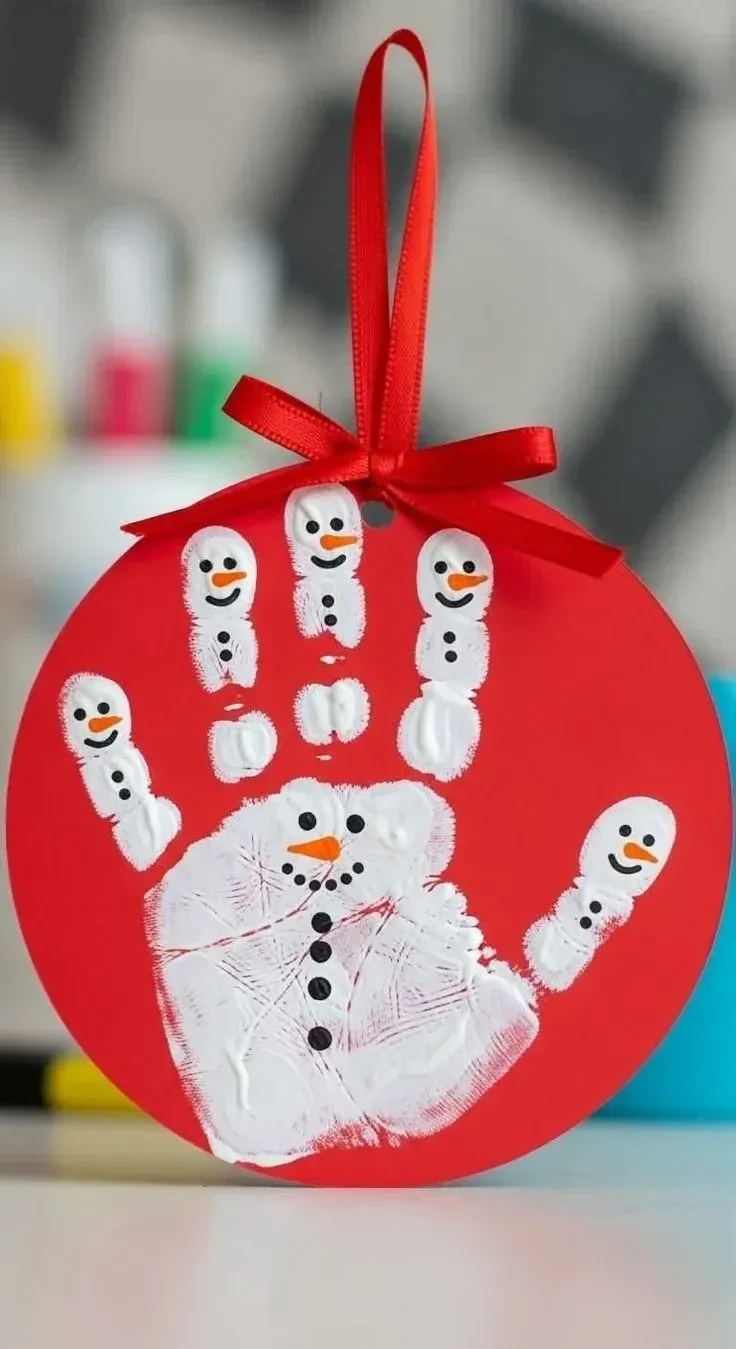
20- Make a Handprint Ornament Card
A white handprint on a red background creates a keepsake card with a strong seasonal contrast.
Once the paint dries, each finger can become a tiny snowman with a face and buttons.
A round card, ribbon, and markers complete the ornament-like format.
- Round card
- White paint
- Markers
- Ribbon
- Red background
21- Decorate a Beaded Star Ornament
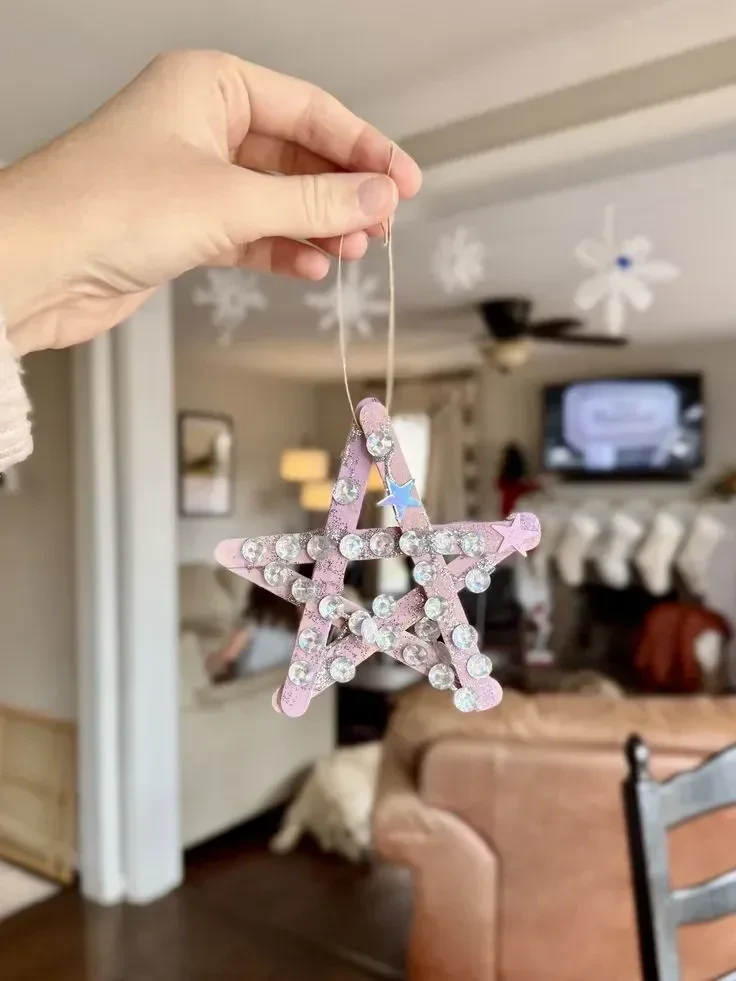
A star base gives children a clear shape to fill with sequins, beads, glue, and small pom poms.
The mix of shiny and soft details creates texture, while leaving the edges lighter helps the star outline remain visible.
String makes the finished piece ready for hanging.
- Star base
- Glue
- Sequins
- Beads
- Small pom poms
- String
22- Set Up a Christmas Craft Display
A simple Christmas craft display can bring together the season’s colors, shapes, and handmade details in one easy-to-see area.
Use a wall, shelf, or small hanging space for the finished projects, depending on what your room can comfortably hold.
Keeping the display contained gives children’s work a clear home without making the rest of the room feel crowded.
Make Room for the Handmade Season
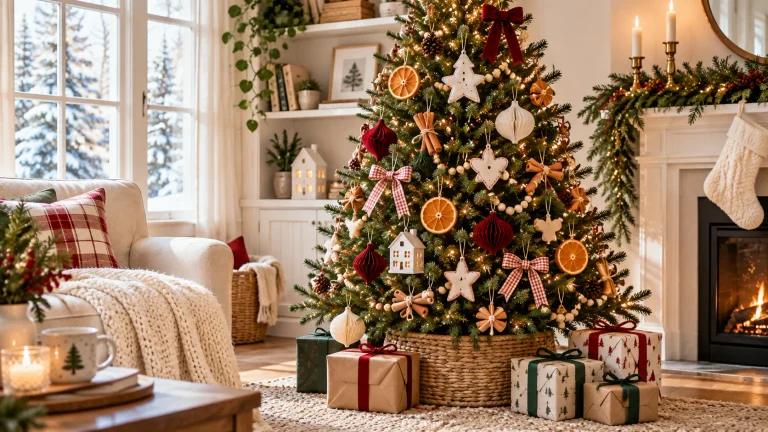
These Christmas crafts for kids bring together soft textures, bright paper, natural pieces, and plenty of personal detail.
Some can hang from the tree, while others work on a wall, shelf, fabric surface, or reading basket.
Let the finished pieces look different from one another. That mix is what makes a child-made display feel warm.
A small collection of handmade decorations can make the season feel personal without needing a large budget or a packed room.

I am Eleanor Foy, the mom of two behind DaisyHacks. I am a lover of clean, calm homes and a person who will happily spend 45 minutes researching a 5 minute cleaning hack. No regrets.